After searching long and hard to find a way to build a safe, sturdy horse run-in shed, I finally landed on something I could do myself without breaking the bank. This simple tutorial shows you how to build an affordable, free-standing horse shelter using common materials. No special tools or skills necessary, and you can build it yourself in a day!
Why a DIY simple horse shelter?
When I was offered my gelding I was told he was an easy keeper; happy to be outside all the time with just a run-in to get out of the elements. Unfortunately, we didn’t have anything suitable. Our small barn was already in use, and we weren’t sure yet where we could build a permanent structure.
I needed to find something I could build myself. It had to be strong and sturdy enough to protect him, but that we could relocate if necessary.
We were also on a budget! So I didn’t want to spend a bunch of money on something I might have to re-do later.
I did a lot of searching and everything seemed to miss the mark. Many either required skills and tools we don’t have or needed a permanent location (posts sunk in concrete). Most were just too expensive. Finally I came across this post. They used corral panels for the framework and cattle panels and tarp for the roof. Perfect!
I decided that would be our best option because it was affordable and could be relocated if necessary. Also, the parts could all be used for other things if we ever decided to build something more permanent later.
Making a free standing horse run-in myself
So I set about building my own–with a few tweaks–and it was super easy! I had help when I needed it, but I was actually able to get much of it up on my own.
The entire shelter only cost me about $550 to build, which was a lot cheaper than buying one pre-made (it’s also cheaper than buying a corral shelter topper, but if you want something simple and easy and have the money for it, those are a great option too). And if you already have corral panels that’s the bulk of the cost right there!
I figured I’d post about it in hopes that I could save someone else the trouble I went through. So here’s how to build a safe, free standing DIY horse shelter on a budget!
DIY horse shelter instructions (to build a sturdy, cheap run-in for your horse):
Materials Used:
- Three 12’ corral panels–(we got ours for $130 each at Tractor Supply. You also may be able to find used ones for cheap on Craigslist or Facebook Marketlace, so shop around!)
- Three 16’ cattle panels–about $30 each (also from Tractor Supply)
- Assorted zip ties, 8-12”–$7-$15 (we got this pack from Home Depot but you can find zip ties just about anywhere)
- Heavy Duty tarps. We bought a 12×16’ tarp for the top (about $35) and used a 10×12’ tarp we had for the back. You could probably buy a larger one for fuller coverage.
- Optional: 6’ T-posts for stability–$6 each (these aren’t completely necessary, but having at least one is helpful if you are working by yourself)
- Optional: baling twine or similar for added support (ultimately it wasn’t necessary, but adding it made me feel better!)
Tools:
- A ladder to pull the tarp into the roof (two are better so two people can create tension on either end of the top tarp)
- Optional: 3 lb sledge hammer for driving in the T-post
- Optional: tape measure to make sure the opening of the run-in is the same size as the back wall
Materials note: You may need to transport the panels yourself! We don’t have a truck so we rented one from Home Depot. We also got some tie-down straps to fasten them to the roof and the truck bed securely. A UHaul would work just as well if you don’t have a truck.
Easy horse shelter setup
Set up your base:
If you’re working by yourself, it helps to drive one T-post into the ground in one corner. Then you can lean your first corral panel against (not necessary if you have a helper to hold it). Once the structure is up you can tie your first panel to it for added stability. For extra stability you can put one in each corner, but I found it wasn’t necessary.
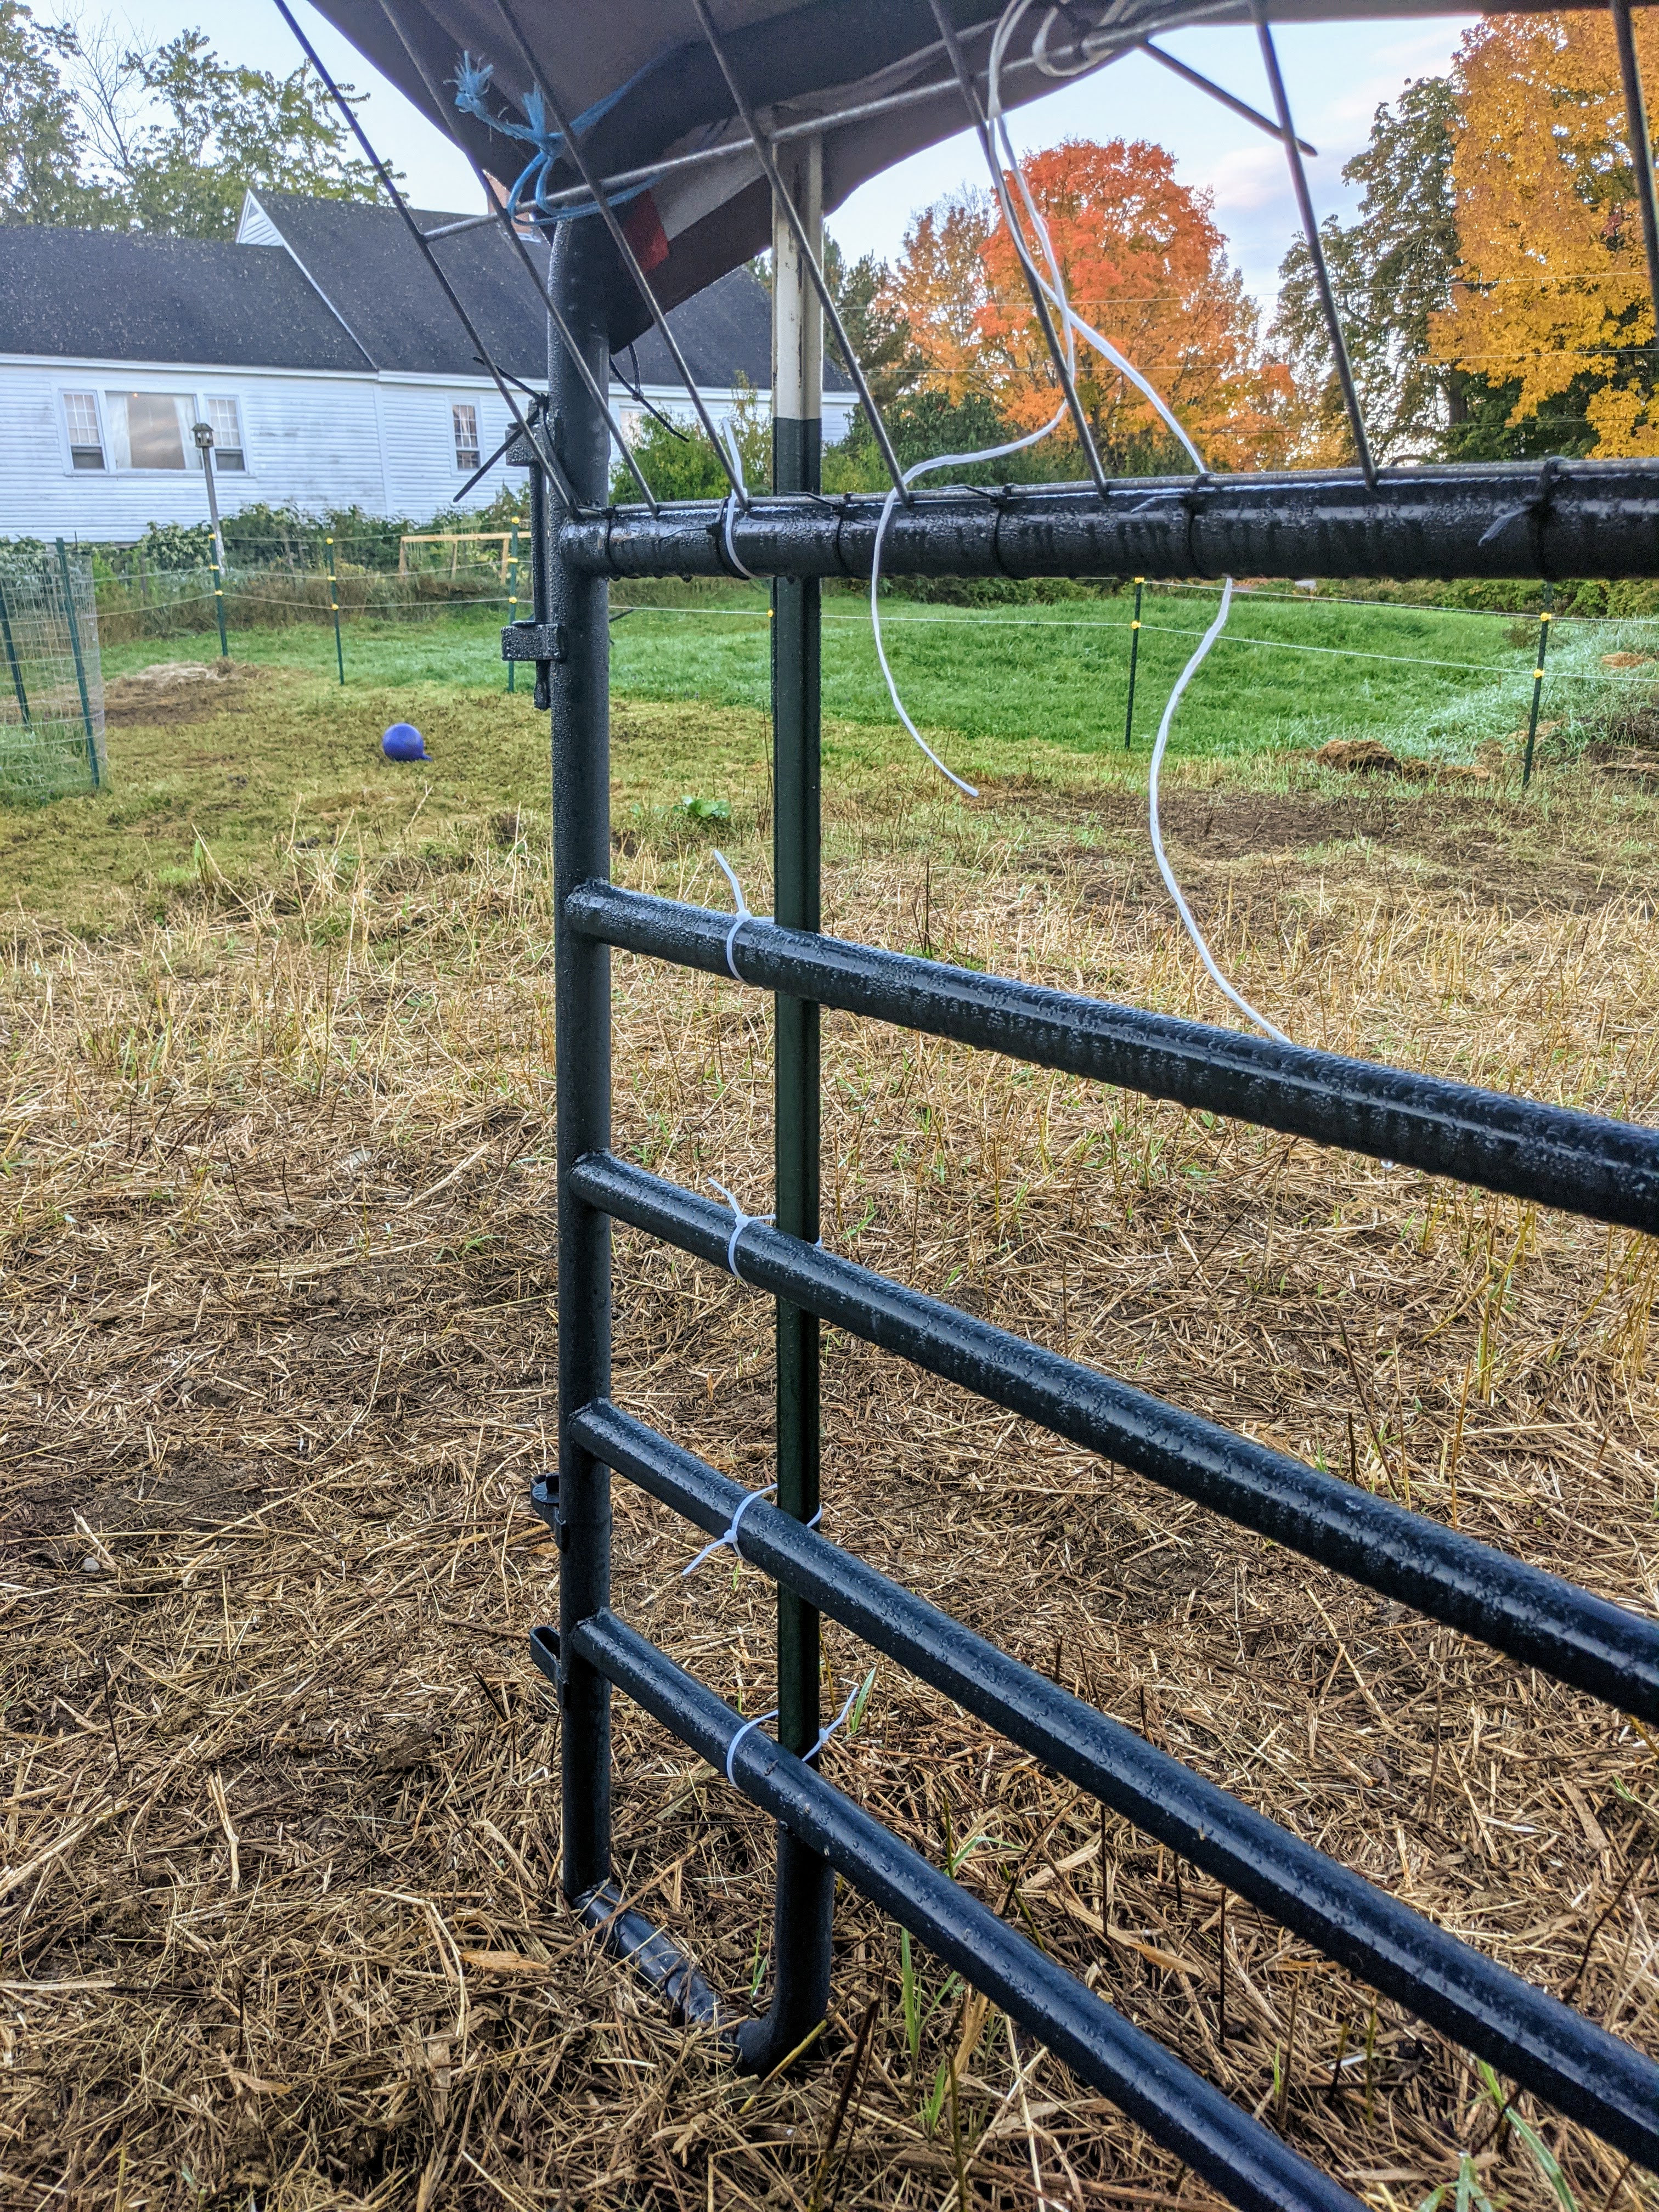
Now set up your corral panels. These are pretty easy to figure out once you have them in front of you; there’s only one way to fit them together. And it’s not terribly difficult to do it without a helper (I was able to do it alone). Just lean it against that t-post! Optional: measure the front opening to make sure it is the same width as the back (this will help your roof to be more even and simpler to tie down, but you can eyeball it just as well)
Adding the roof panels
Prop your first cattle panel along the second-to-the-top bar of one side. Then carefully push up the other end so it is propped on the other side as well. (I was actually able to do this by myself, much to my surprise! They are a bit ungainly but not terribly heavy. The tension between the two walls holds them up well enough to get the zip ties on yourself).
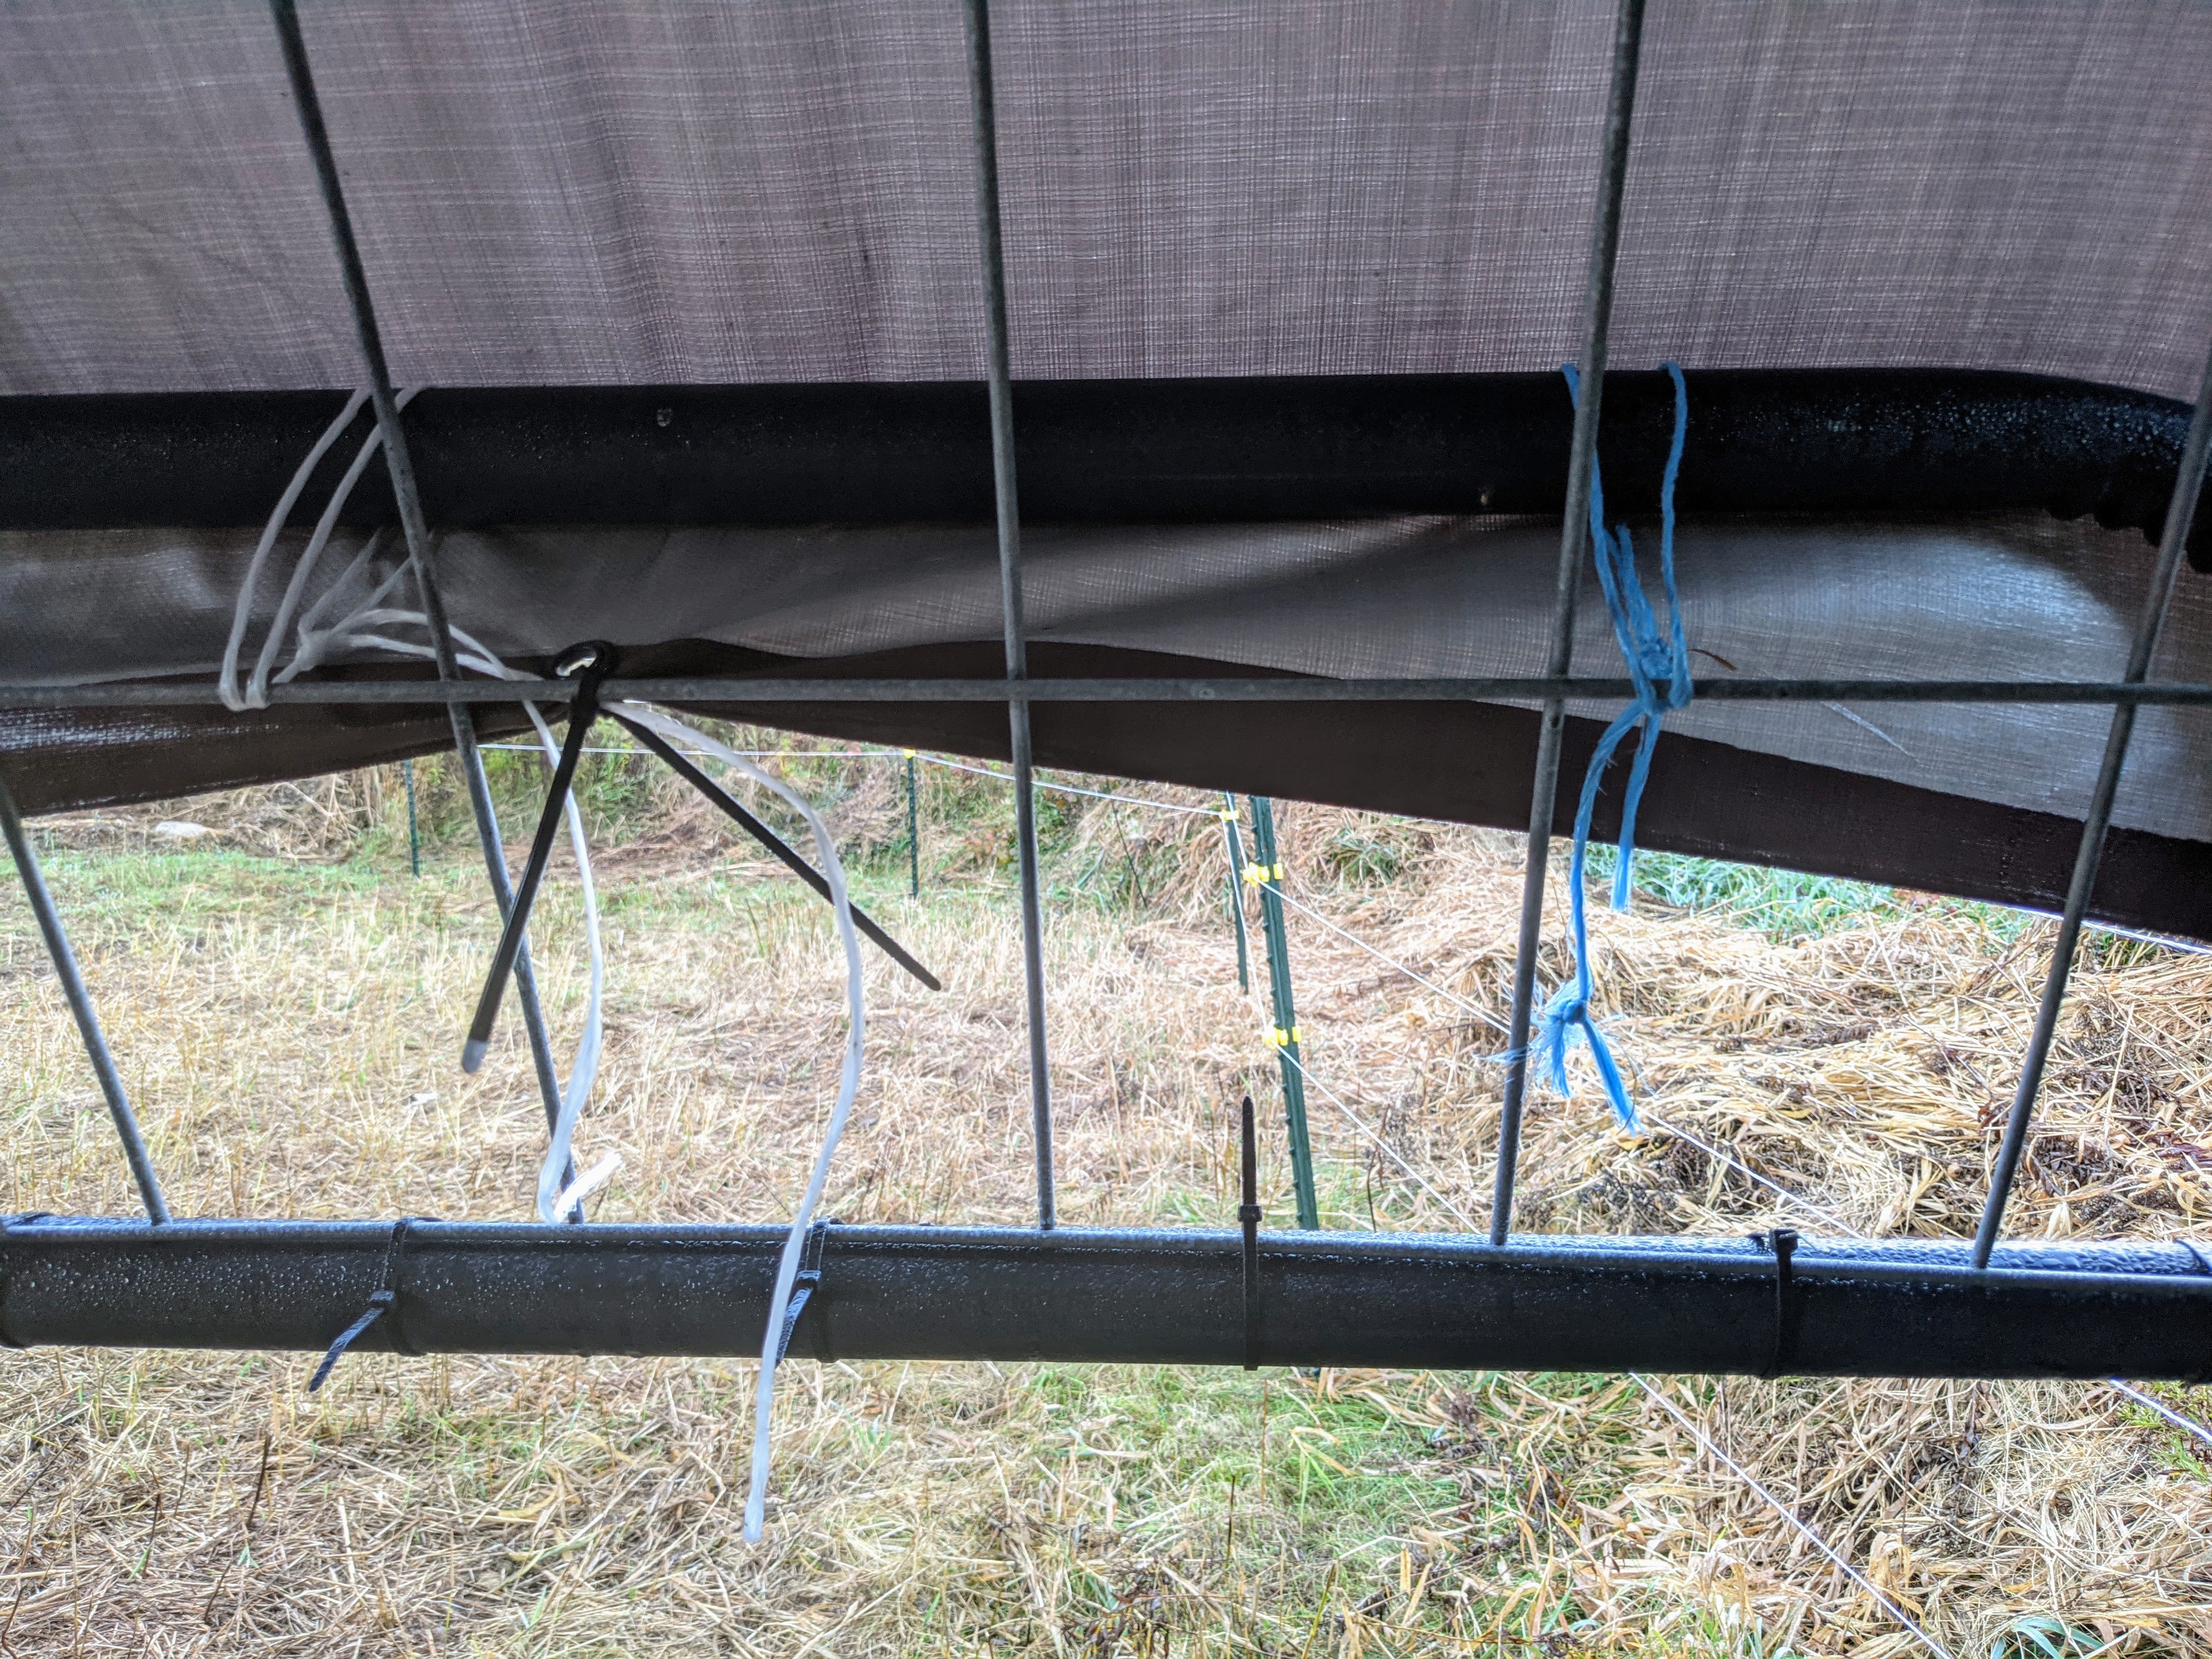
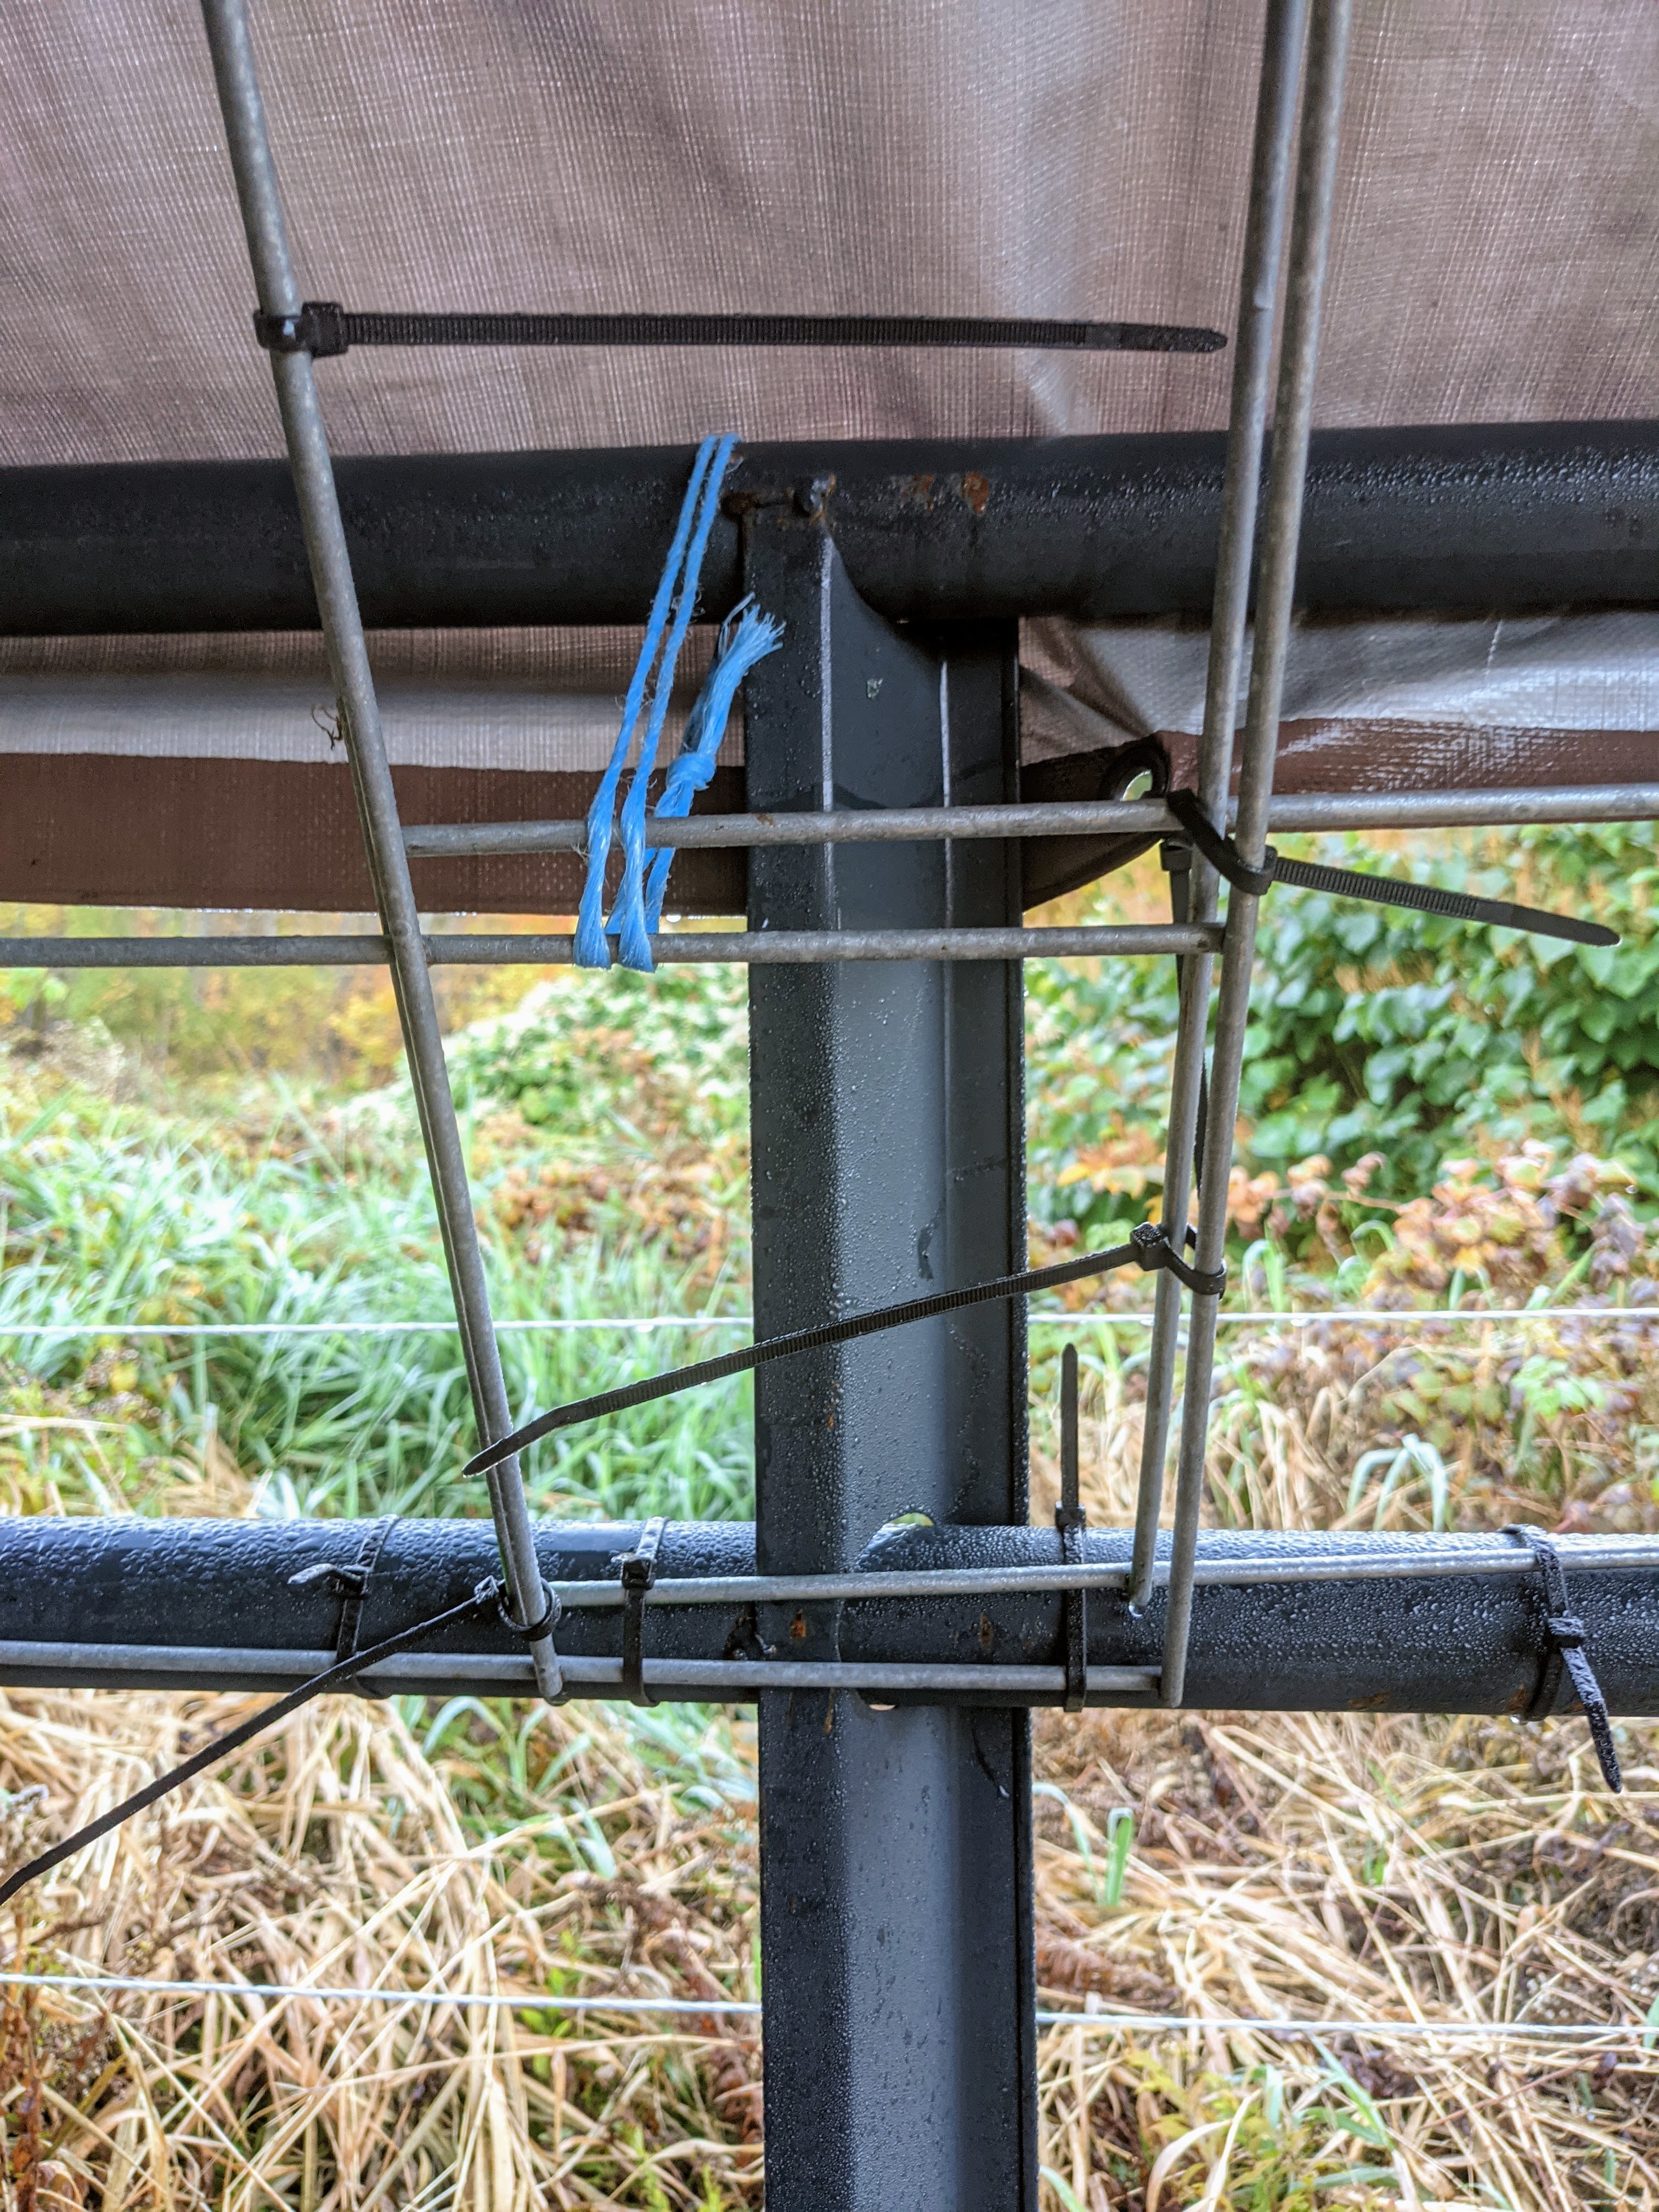
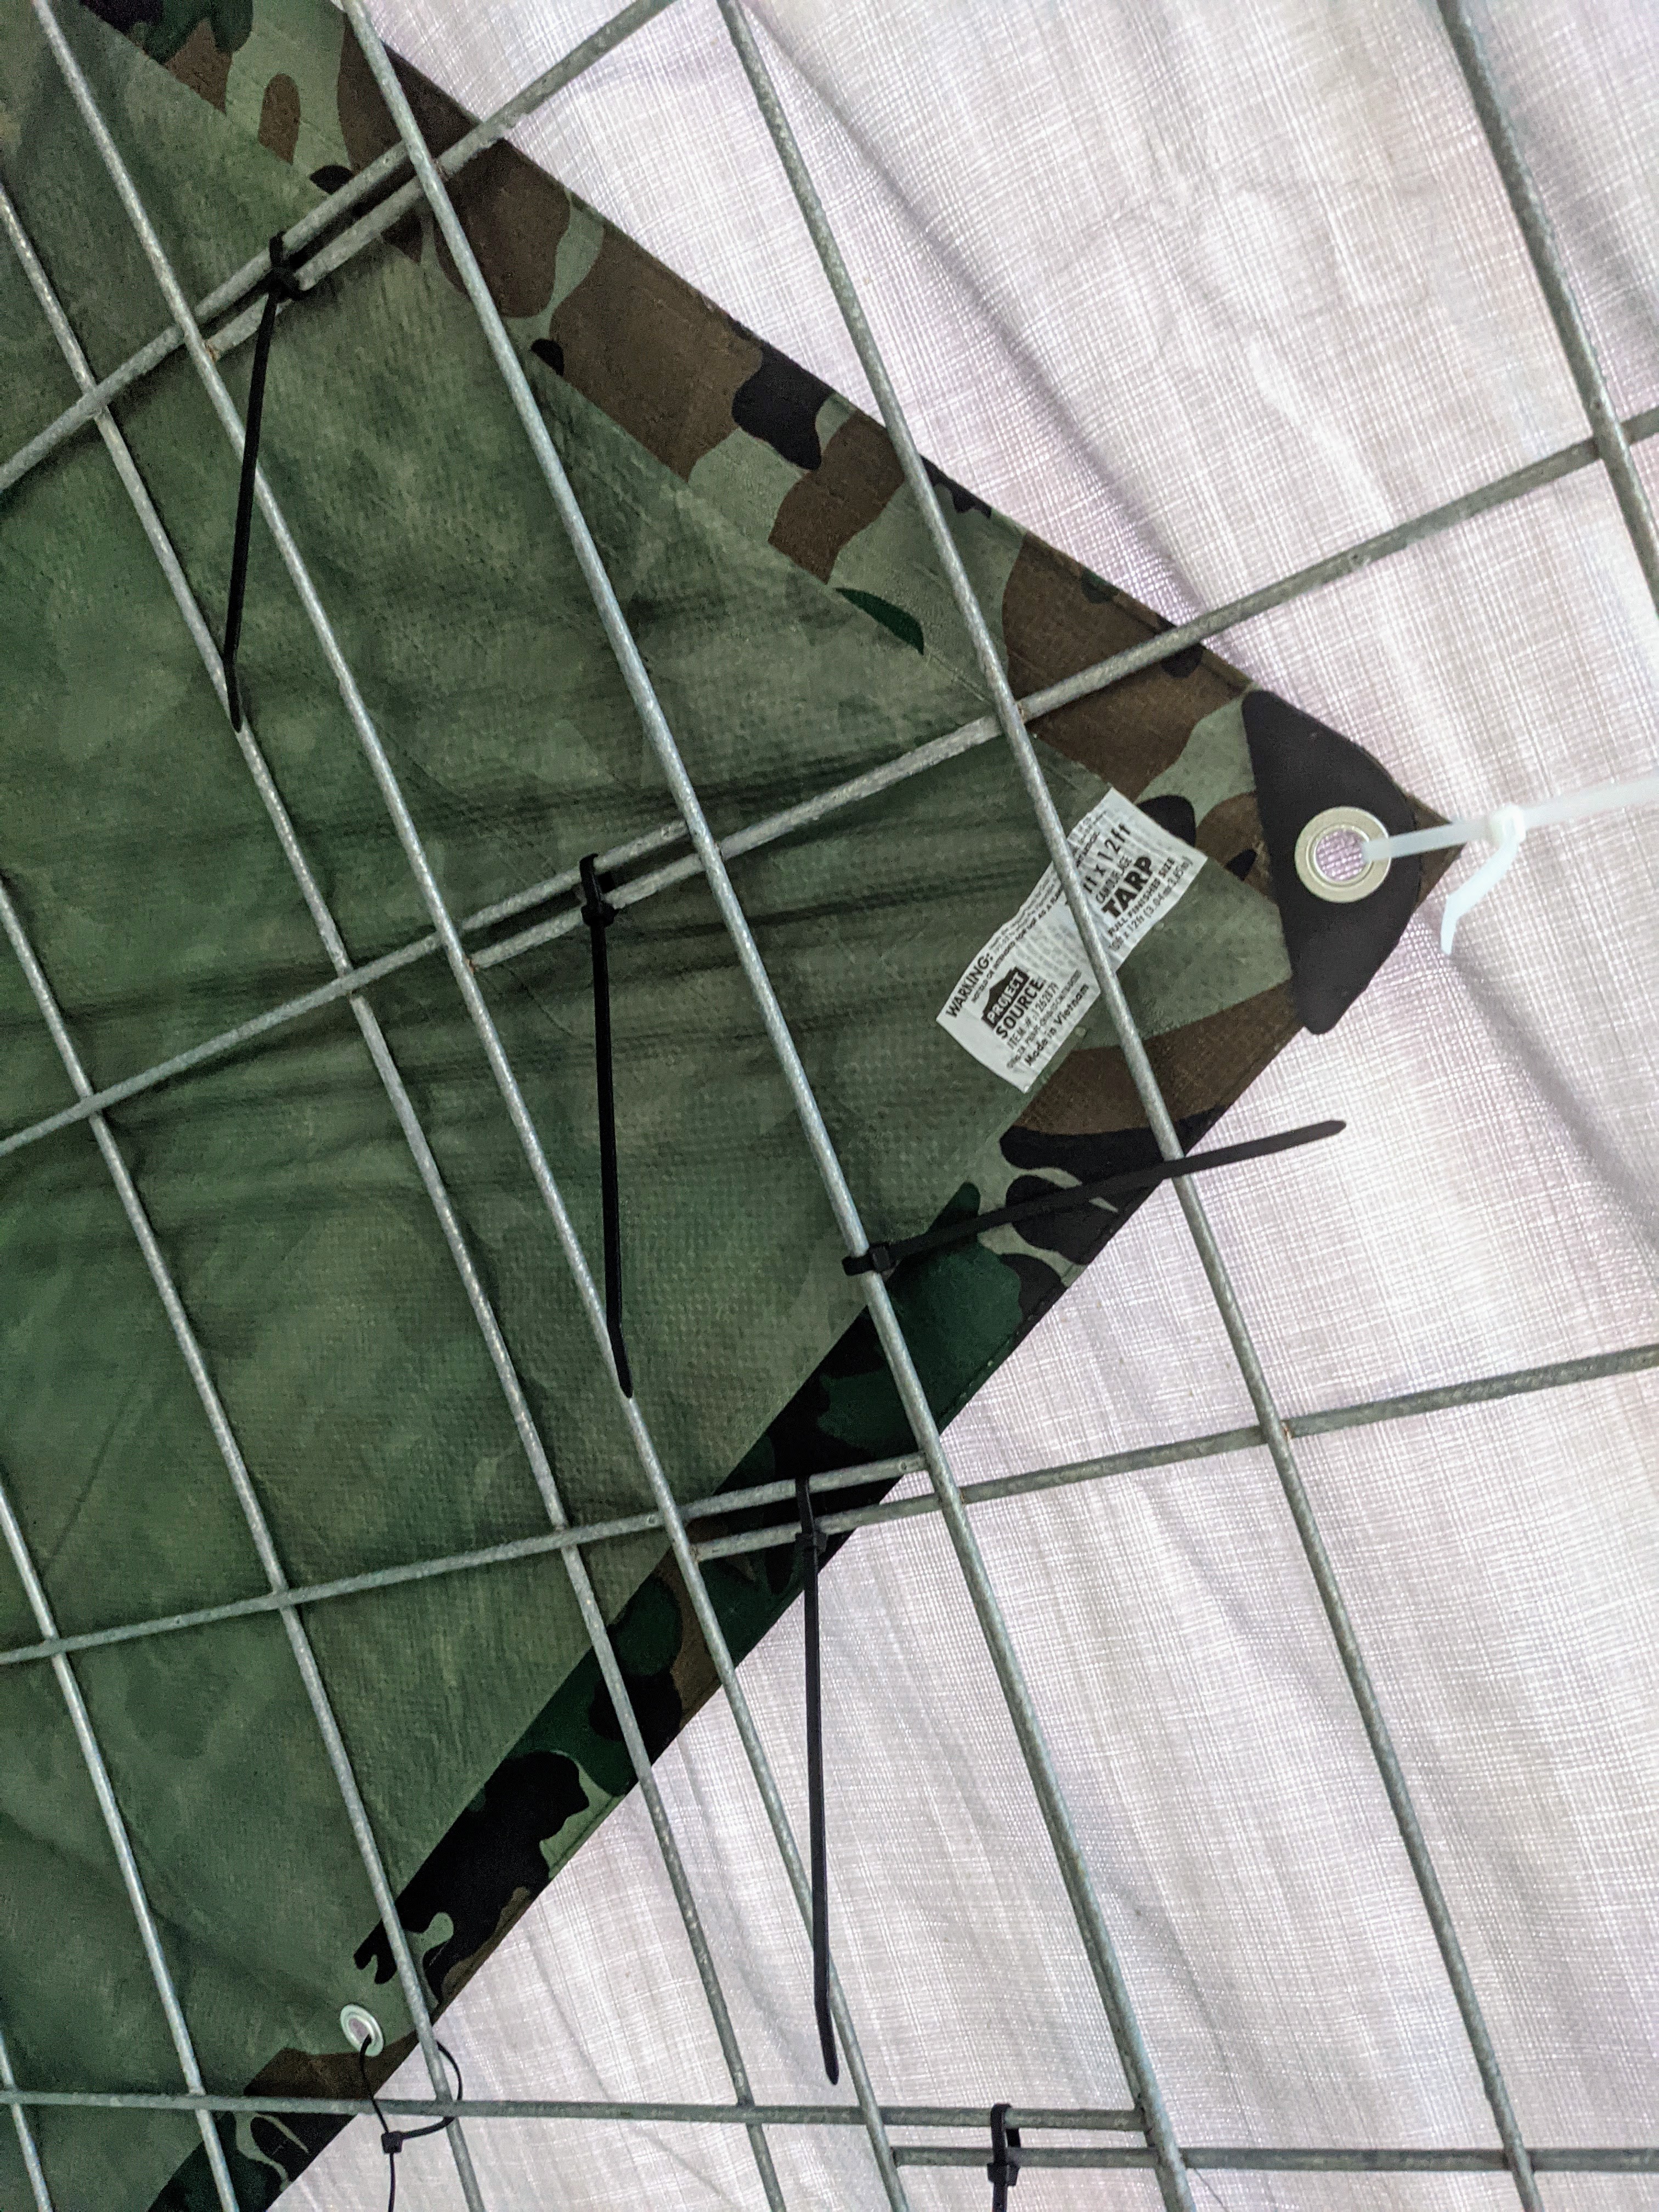
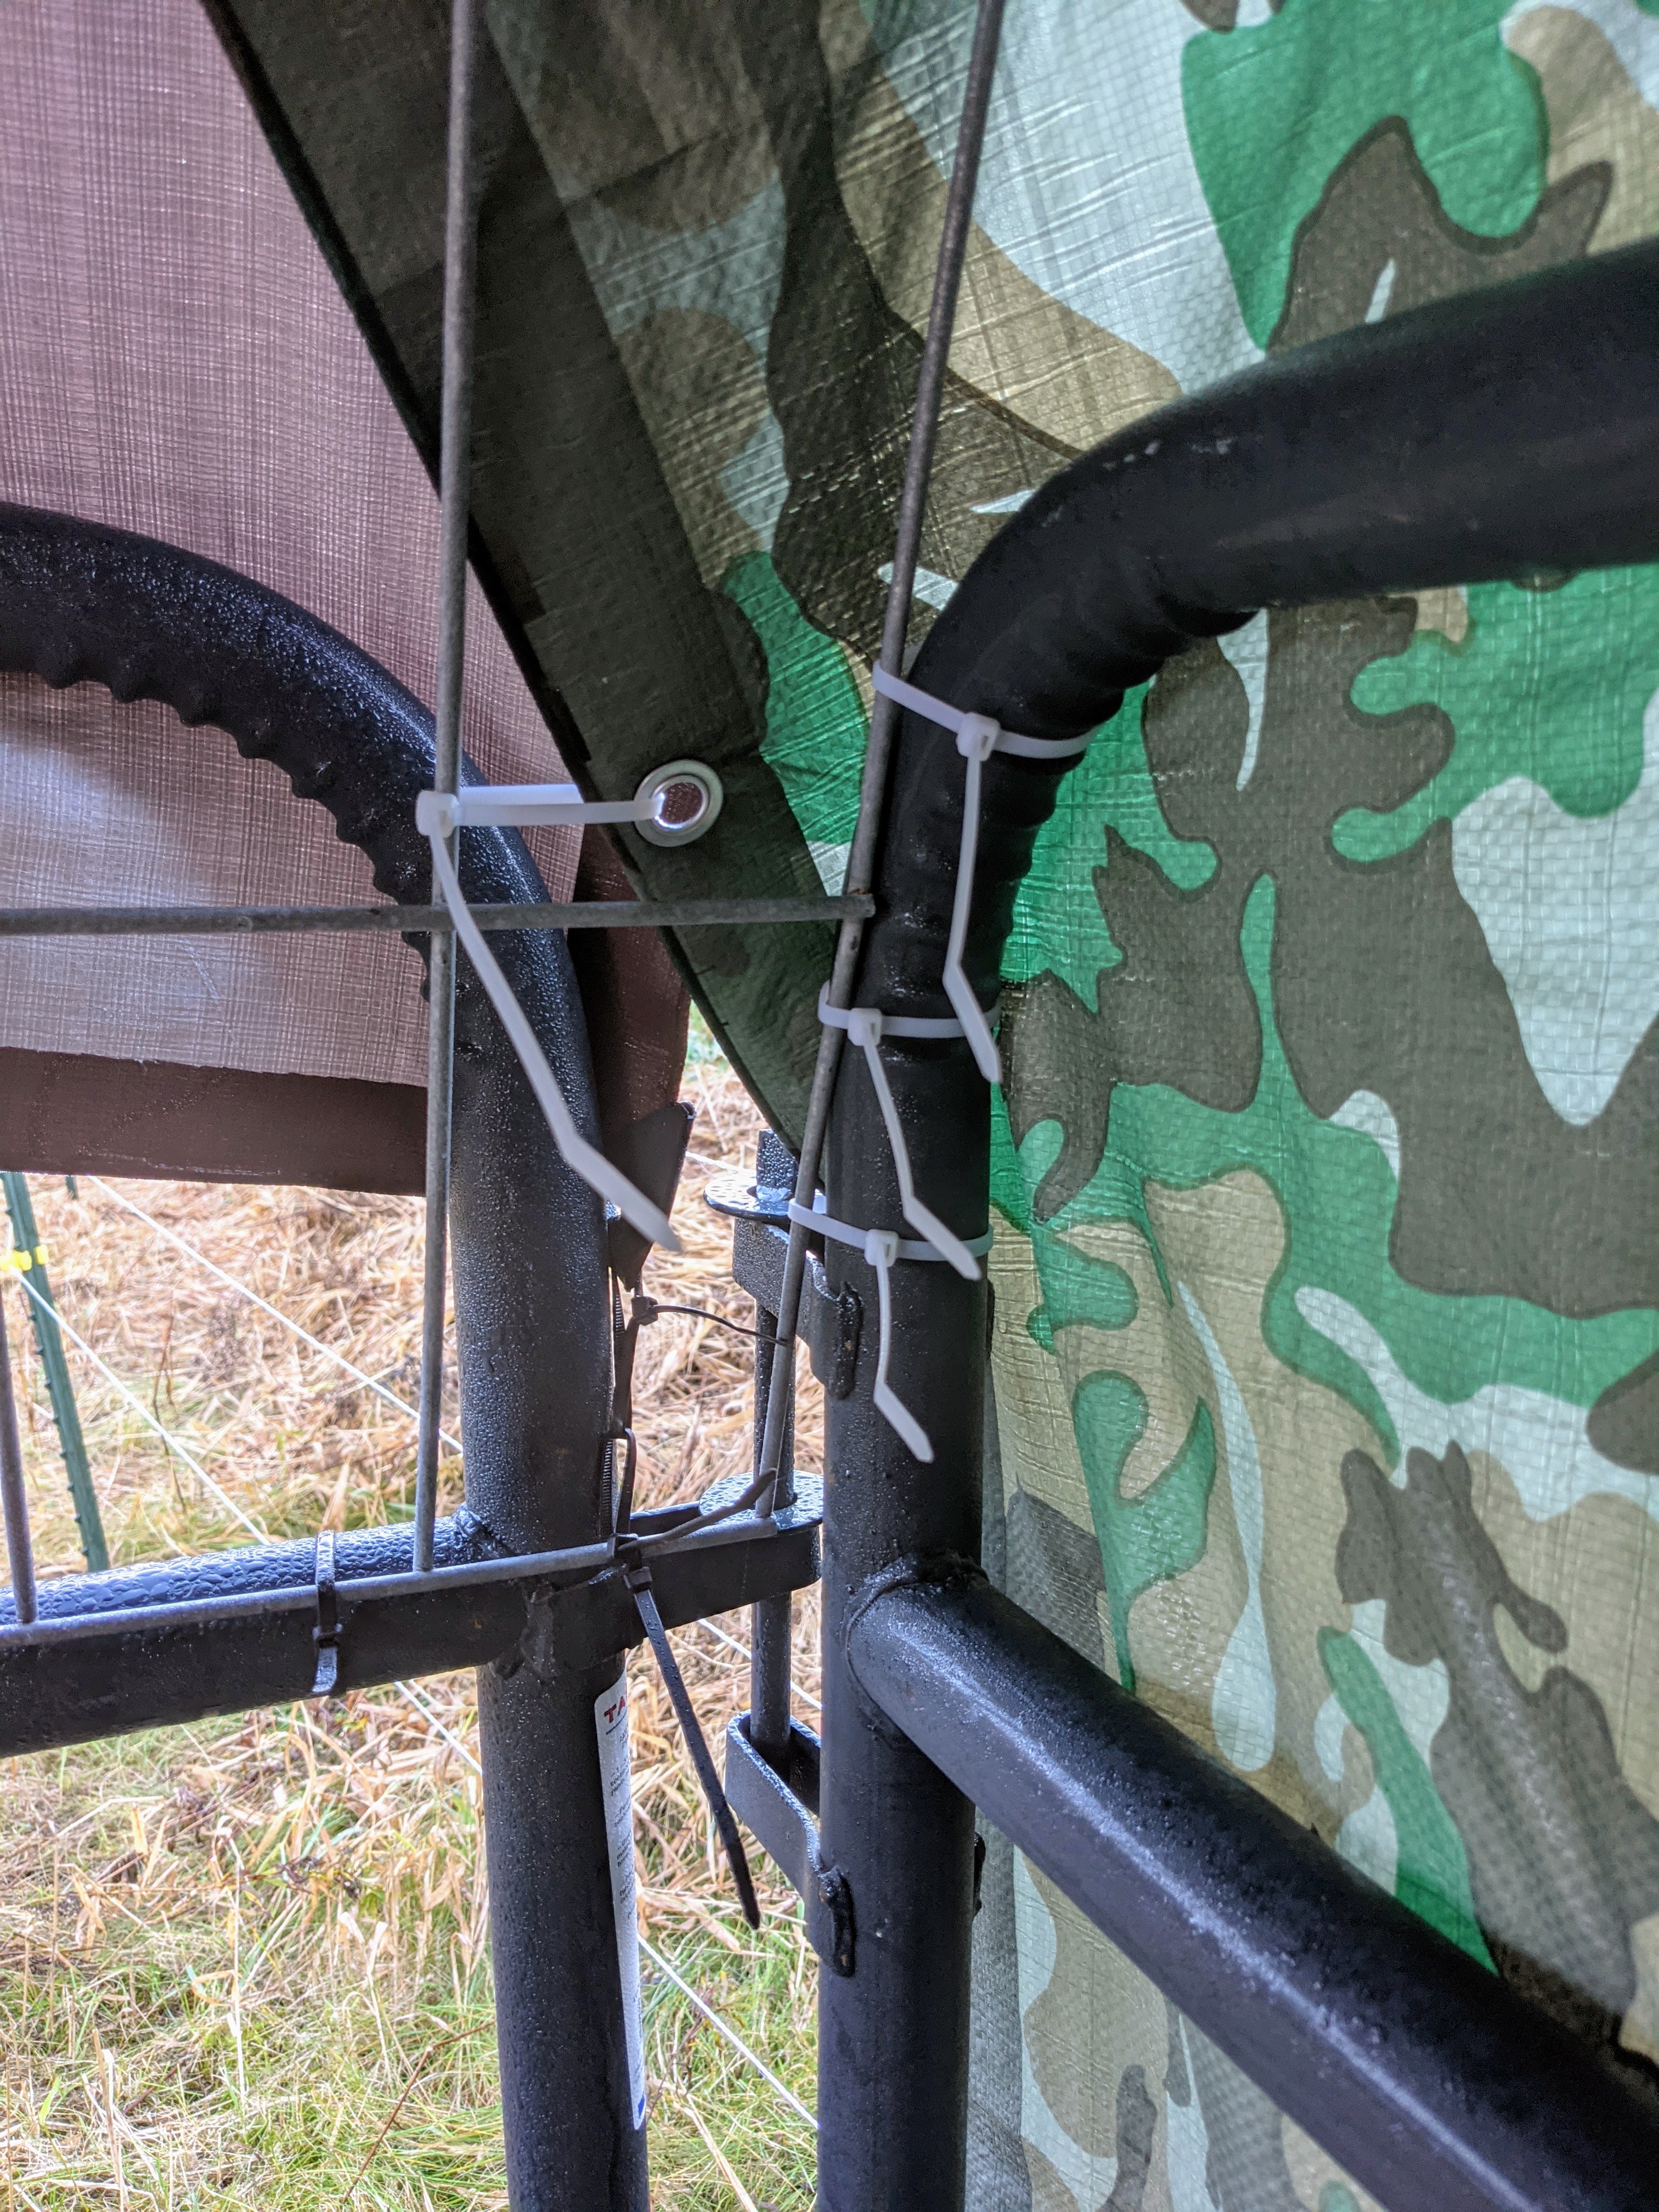
Begin securing your first panel with zip ties on both ends; you will need the longer, 8-12″ ones for this. (I highly recommend only using 3 or 4 at first in case you screw up–like I did–and have to readjust!) They are plenty strong enough to hold everything and it will allow you to make sure it is seated correctly. Make sure they are flush with the back before adding a bunch more.
Once your first panel is seated correctly and zip tied in place, add the second panel. Leave a slight overlap (this was a little trickier, but I was still able to do it without any help). Tie your second panel to the corral bar and zip tie that panel to the first one. Use your ladder to tie up the whole length of the roof.
Do the same with your third panel, overlapping and tying the two together. Voila–your roof is in place!
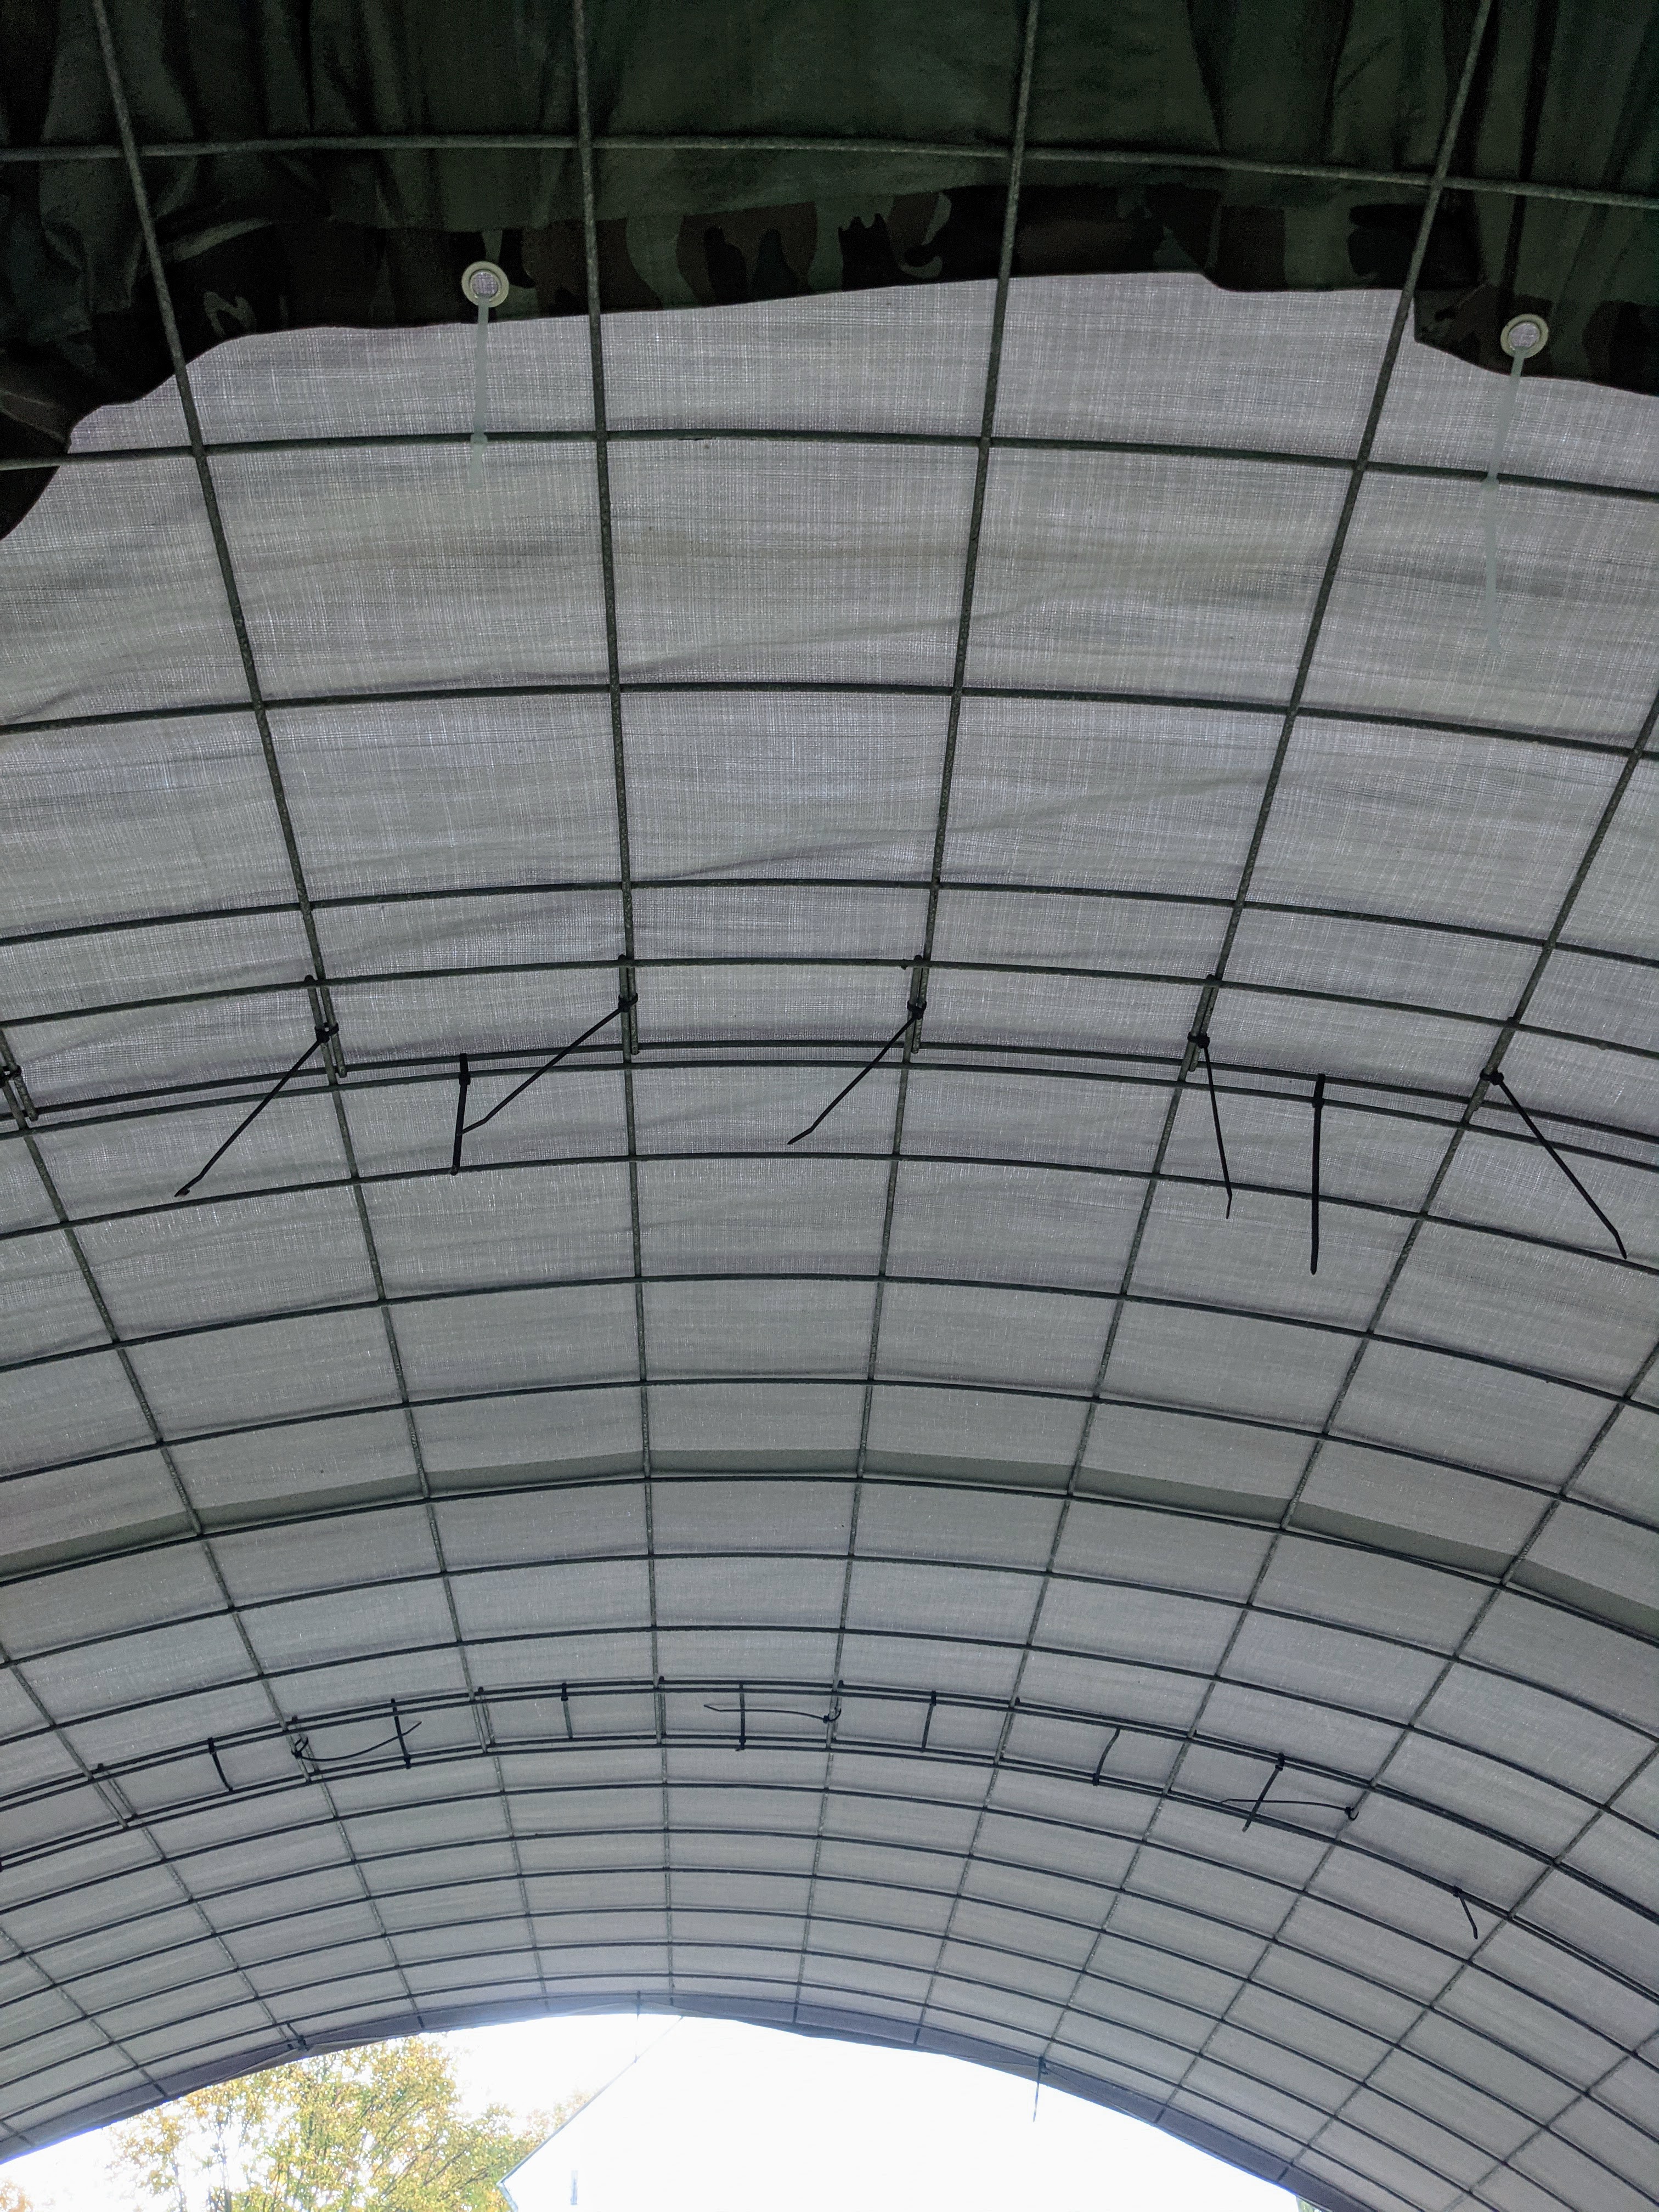
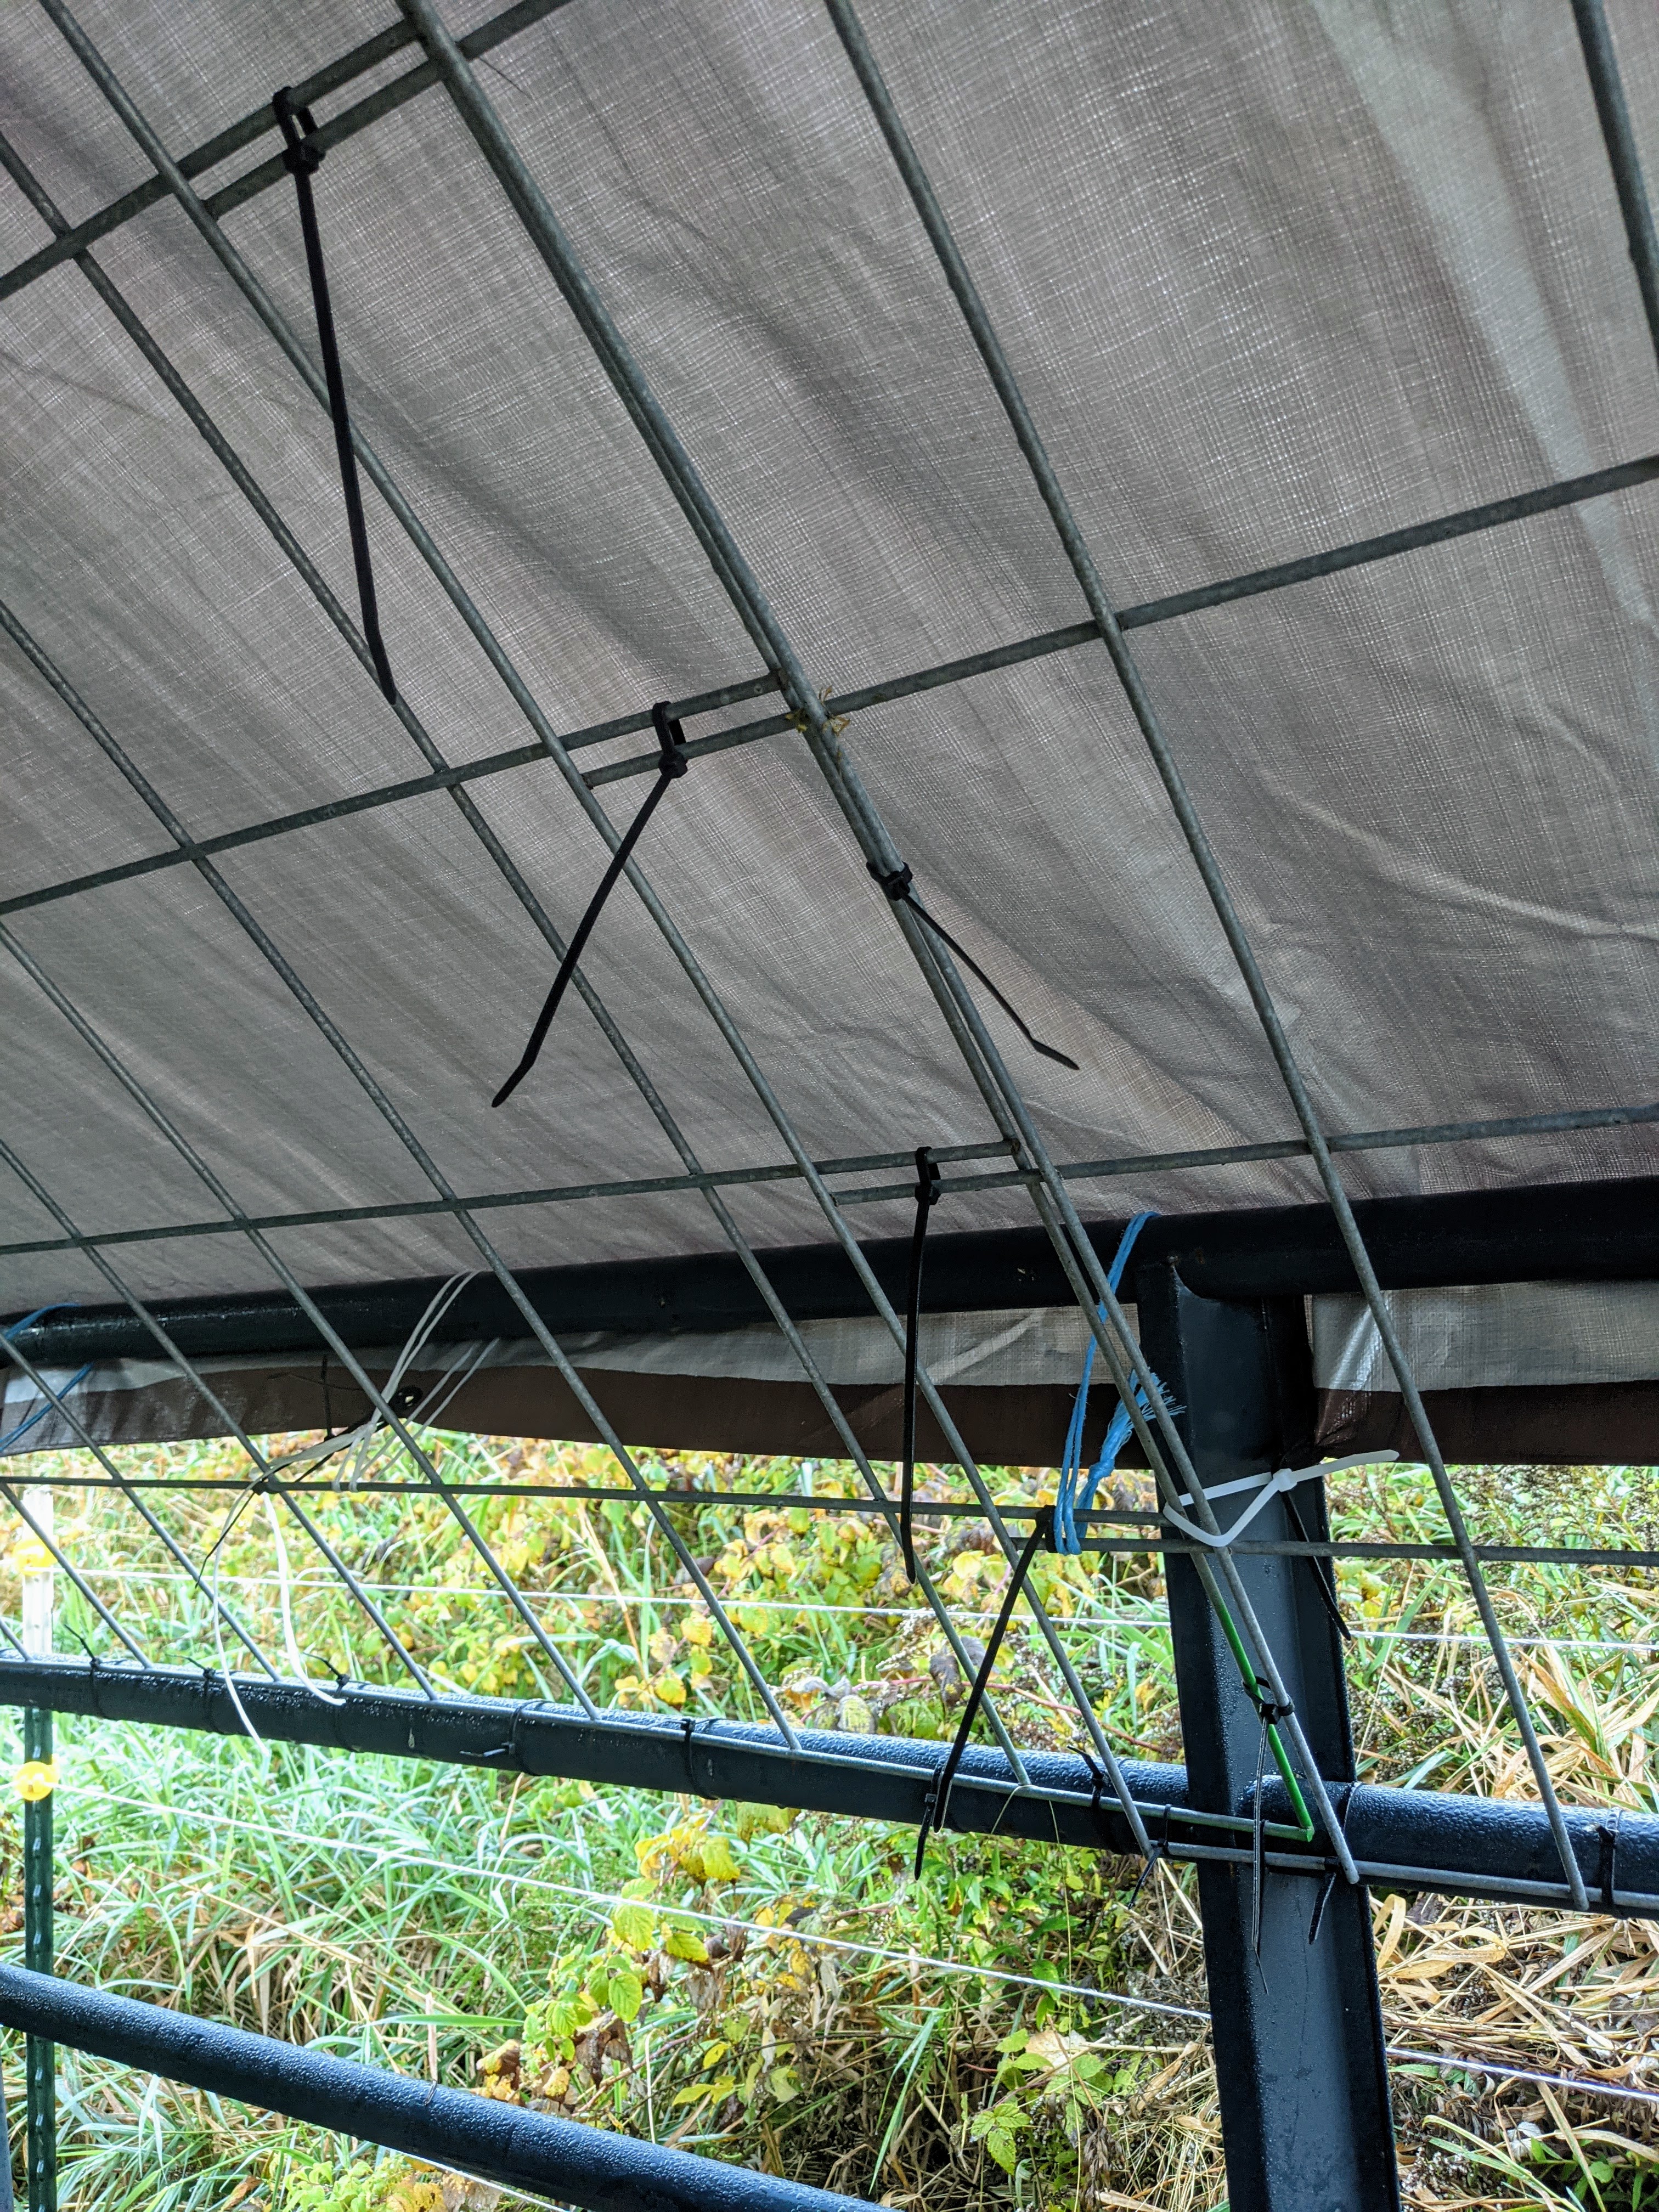
When I built mine I tested the heck out of it to make sure it was sturdy (it was!). But, being the paranoid worrier I am, I decided to go back and reinforce the entire thing with baling twine. I tied the the cattle panel to the top bars for added security (and peace of mind!). It probably didn’t need it in the end, but it made me feel better. (I even considered reinforcing it with duct tape, but found it wasn’t necessary and would have been overkill–even for me!)
Putting on the roof tarp
This part was a bit trickier and I found I needed a helper to get it up without ruining it. I tried the “fling and tug” method, but it was catching on sharp edges of the roof panels and tearing! So I got someone to assist me.
It really helps to have two ladders but anything that will help you both reach the roof is fine. (I climbed up the back corral panel, but your mileage may vary with that one. Be safe!).
Here we made the mistake of tying everything down completely before we put on the back. It’s not a super big deal because they’re just zip ties and easy enough to remove. But it is extra work and a bit of a waste of supplies. So, for simplicity sake, don’t fasten down the back part of the roof tarp until your rear tarp is put up! Line everything up as best you can and then go ahead and zip tie the crap out of it!
Putting on the back tarp
Once your top is on it’s time to put on the back. To do this, start from the bottom. Line one edge up with the bottom rung of the back corral panel and secure in place with zip ties. Then climb your ladders and pull the top corners through under the tarp. Pull them nice and tight! Secure it every place you can so that it stays taut. This will prevent it from whipping around in the wind later.
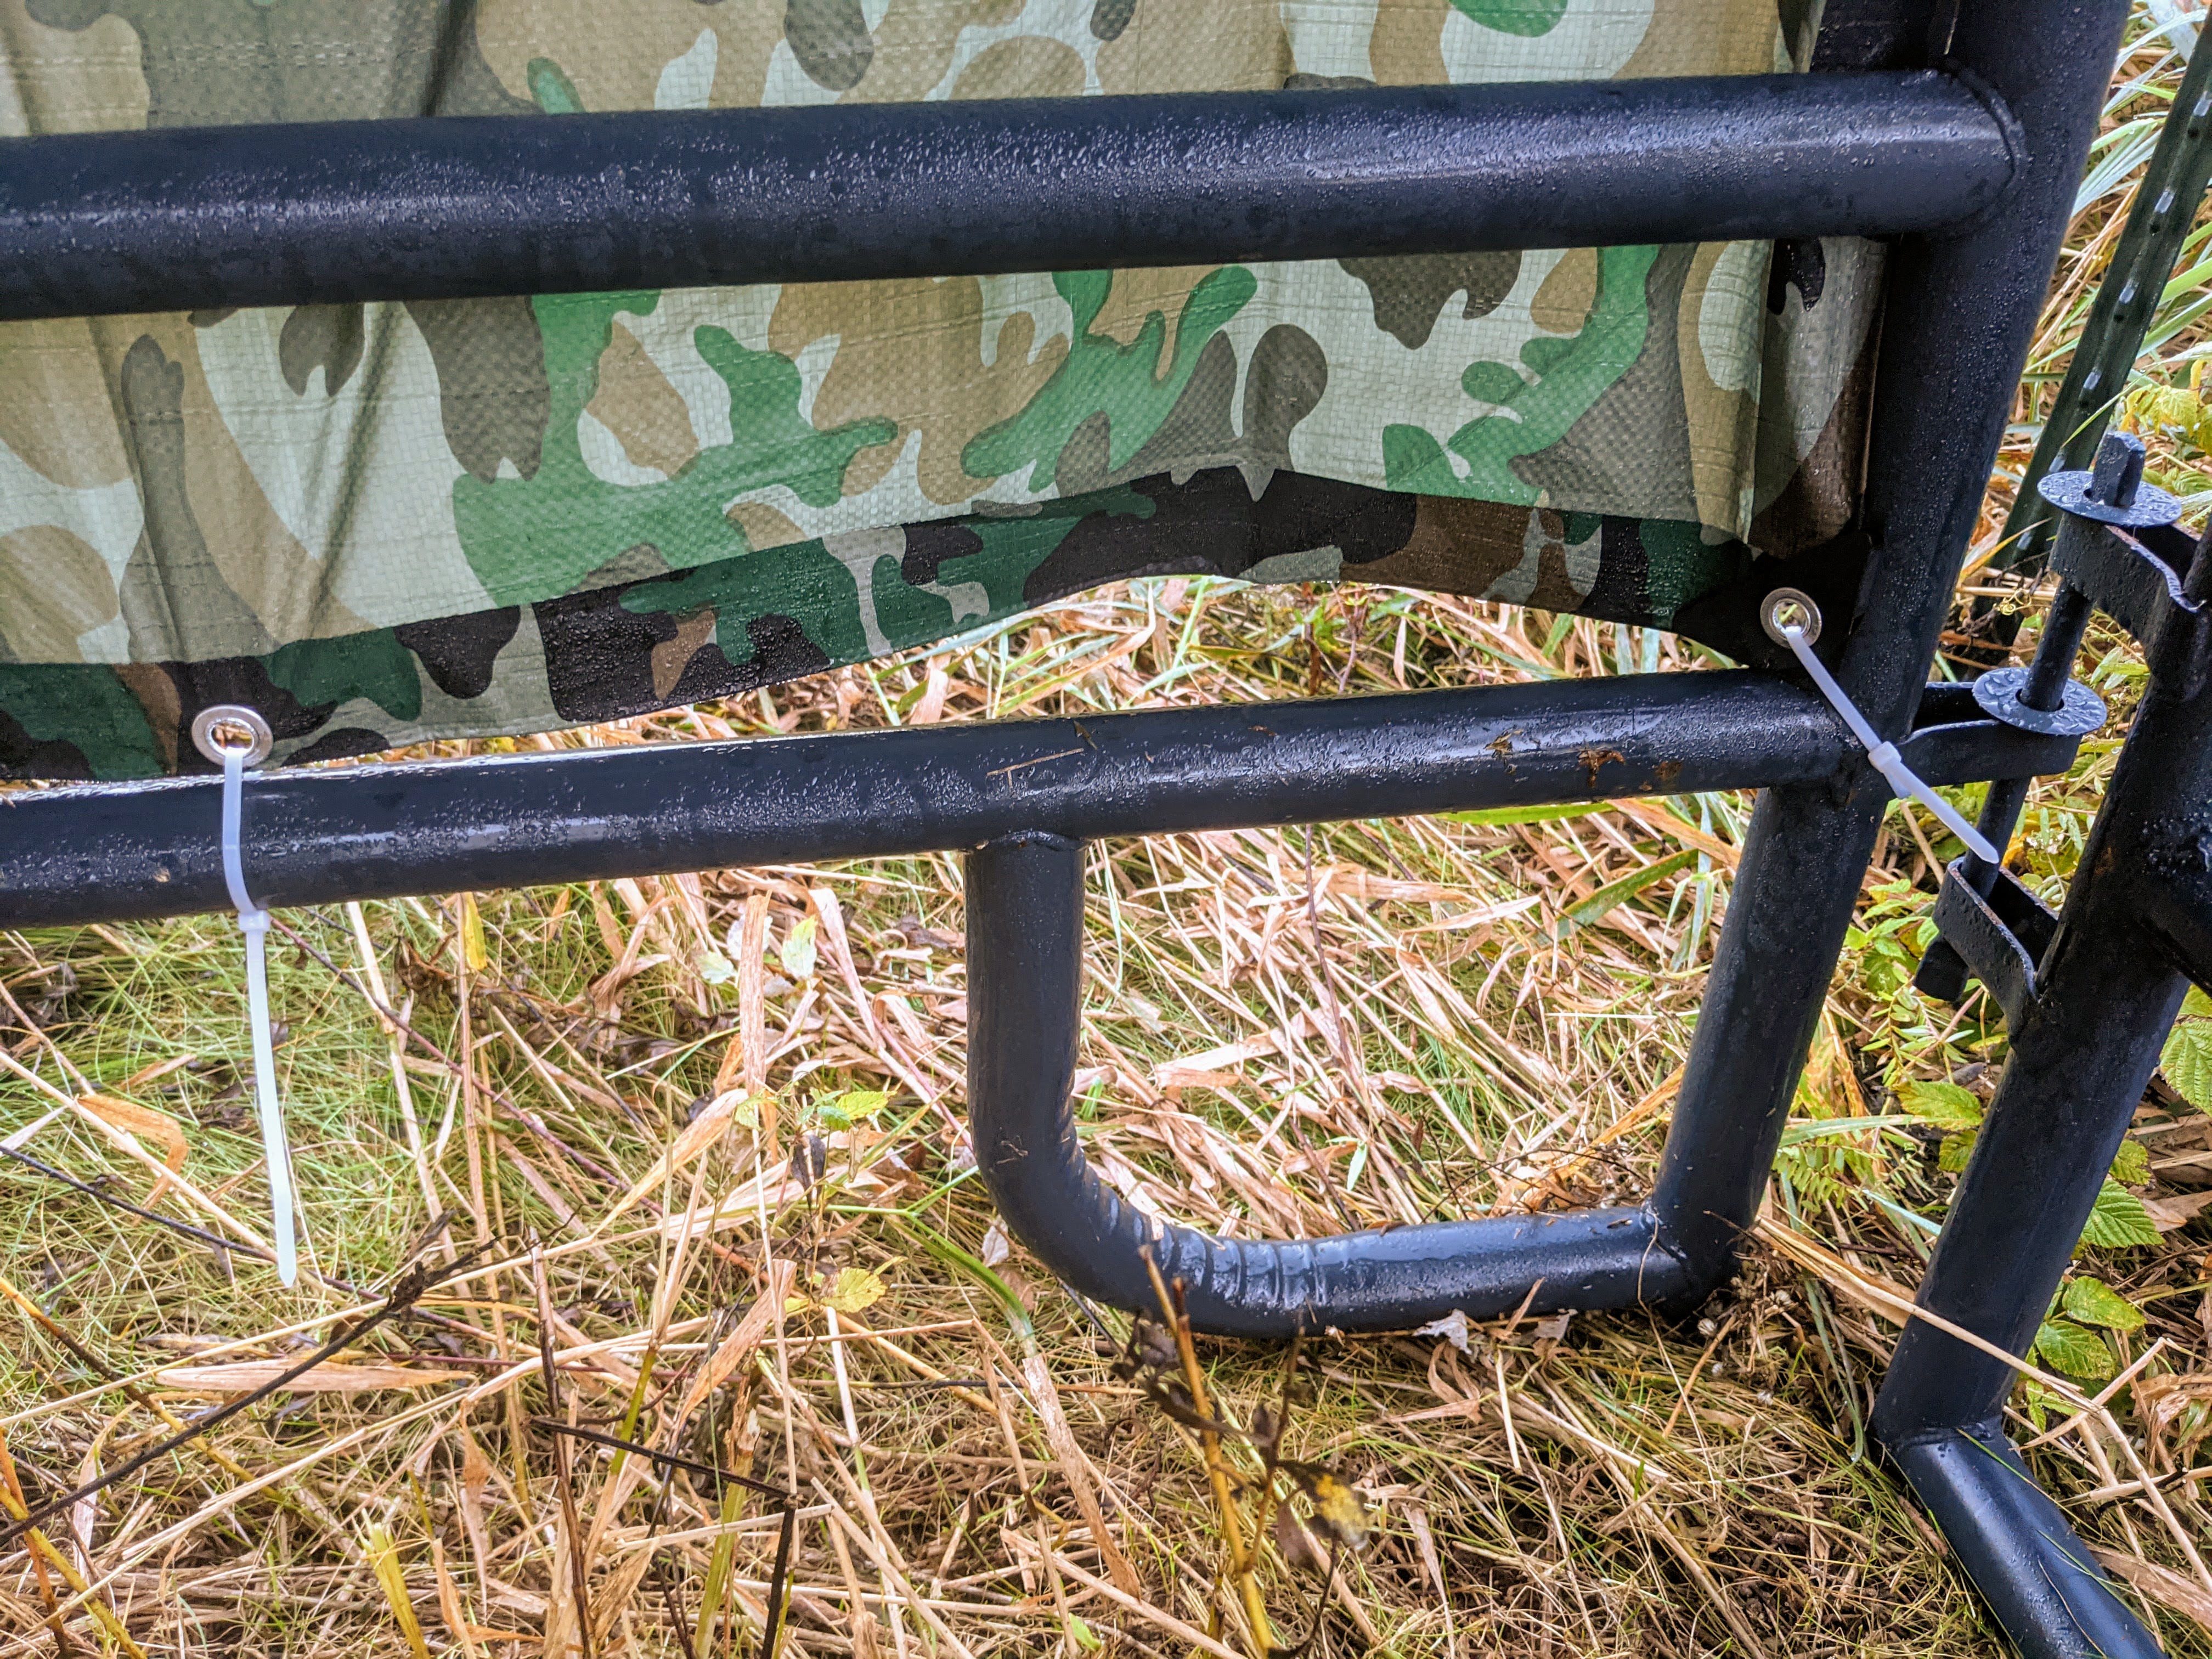
NOW you can fasten everything down extra secure!
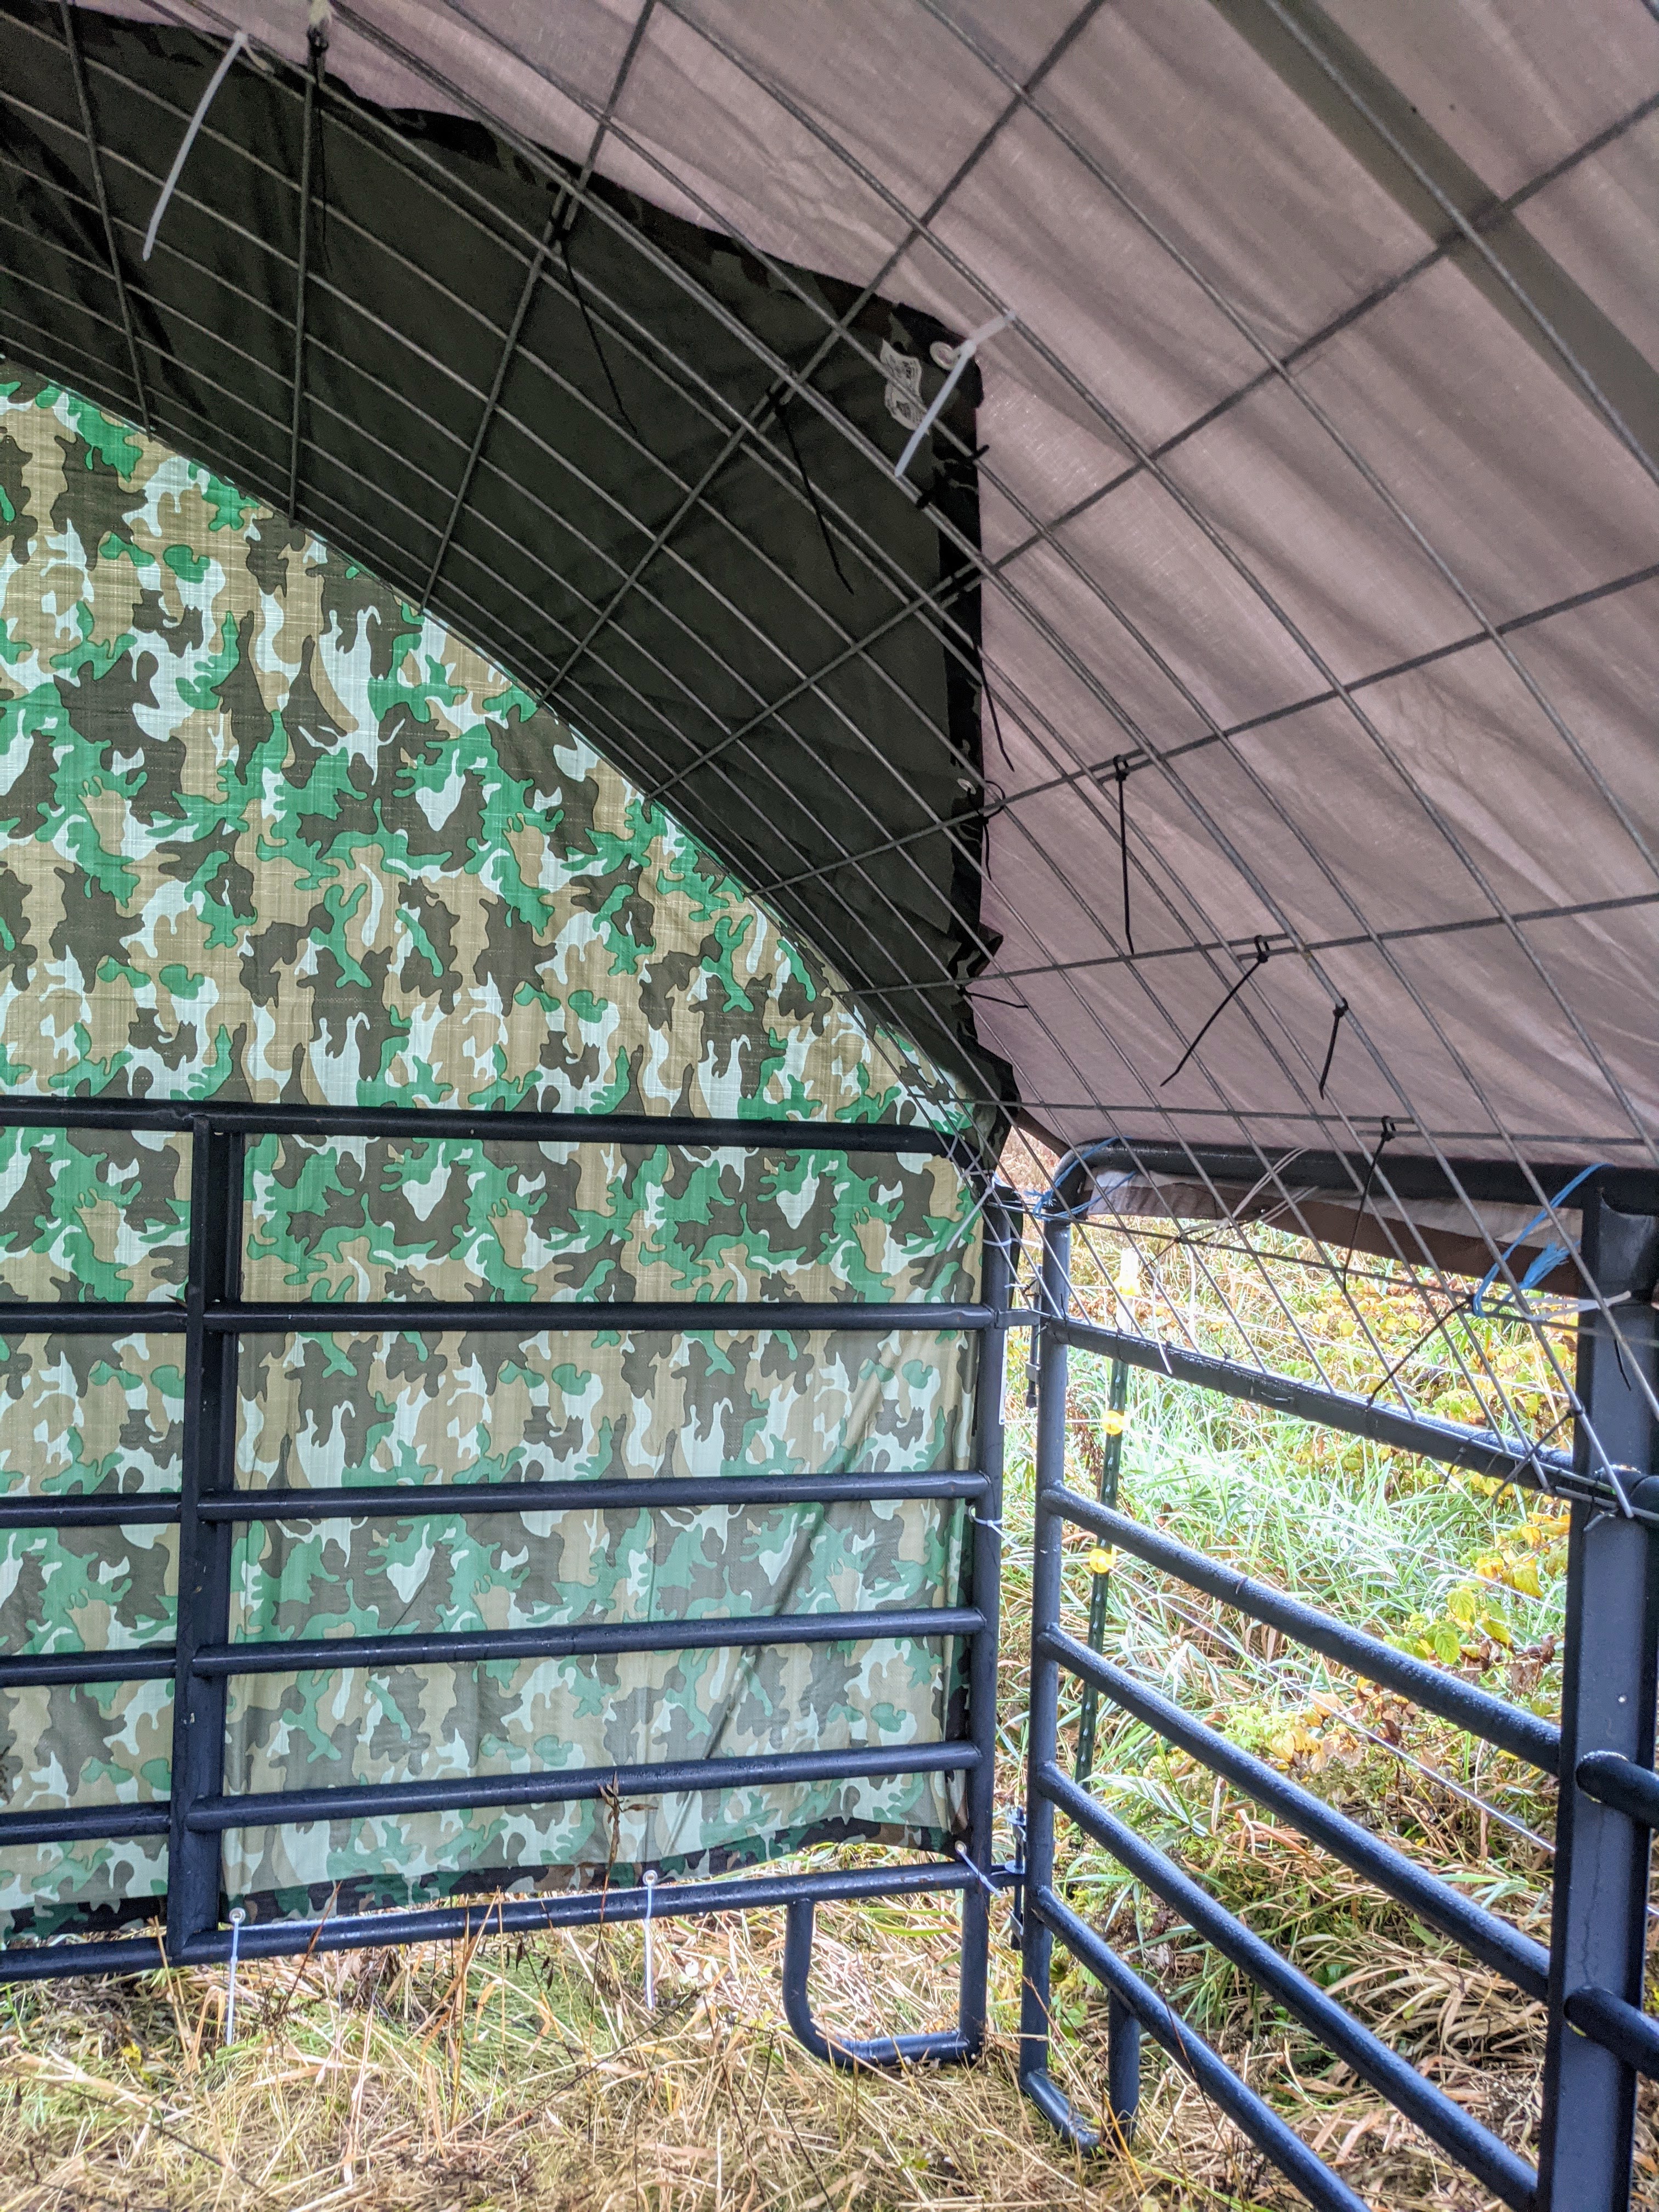
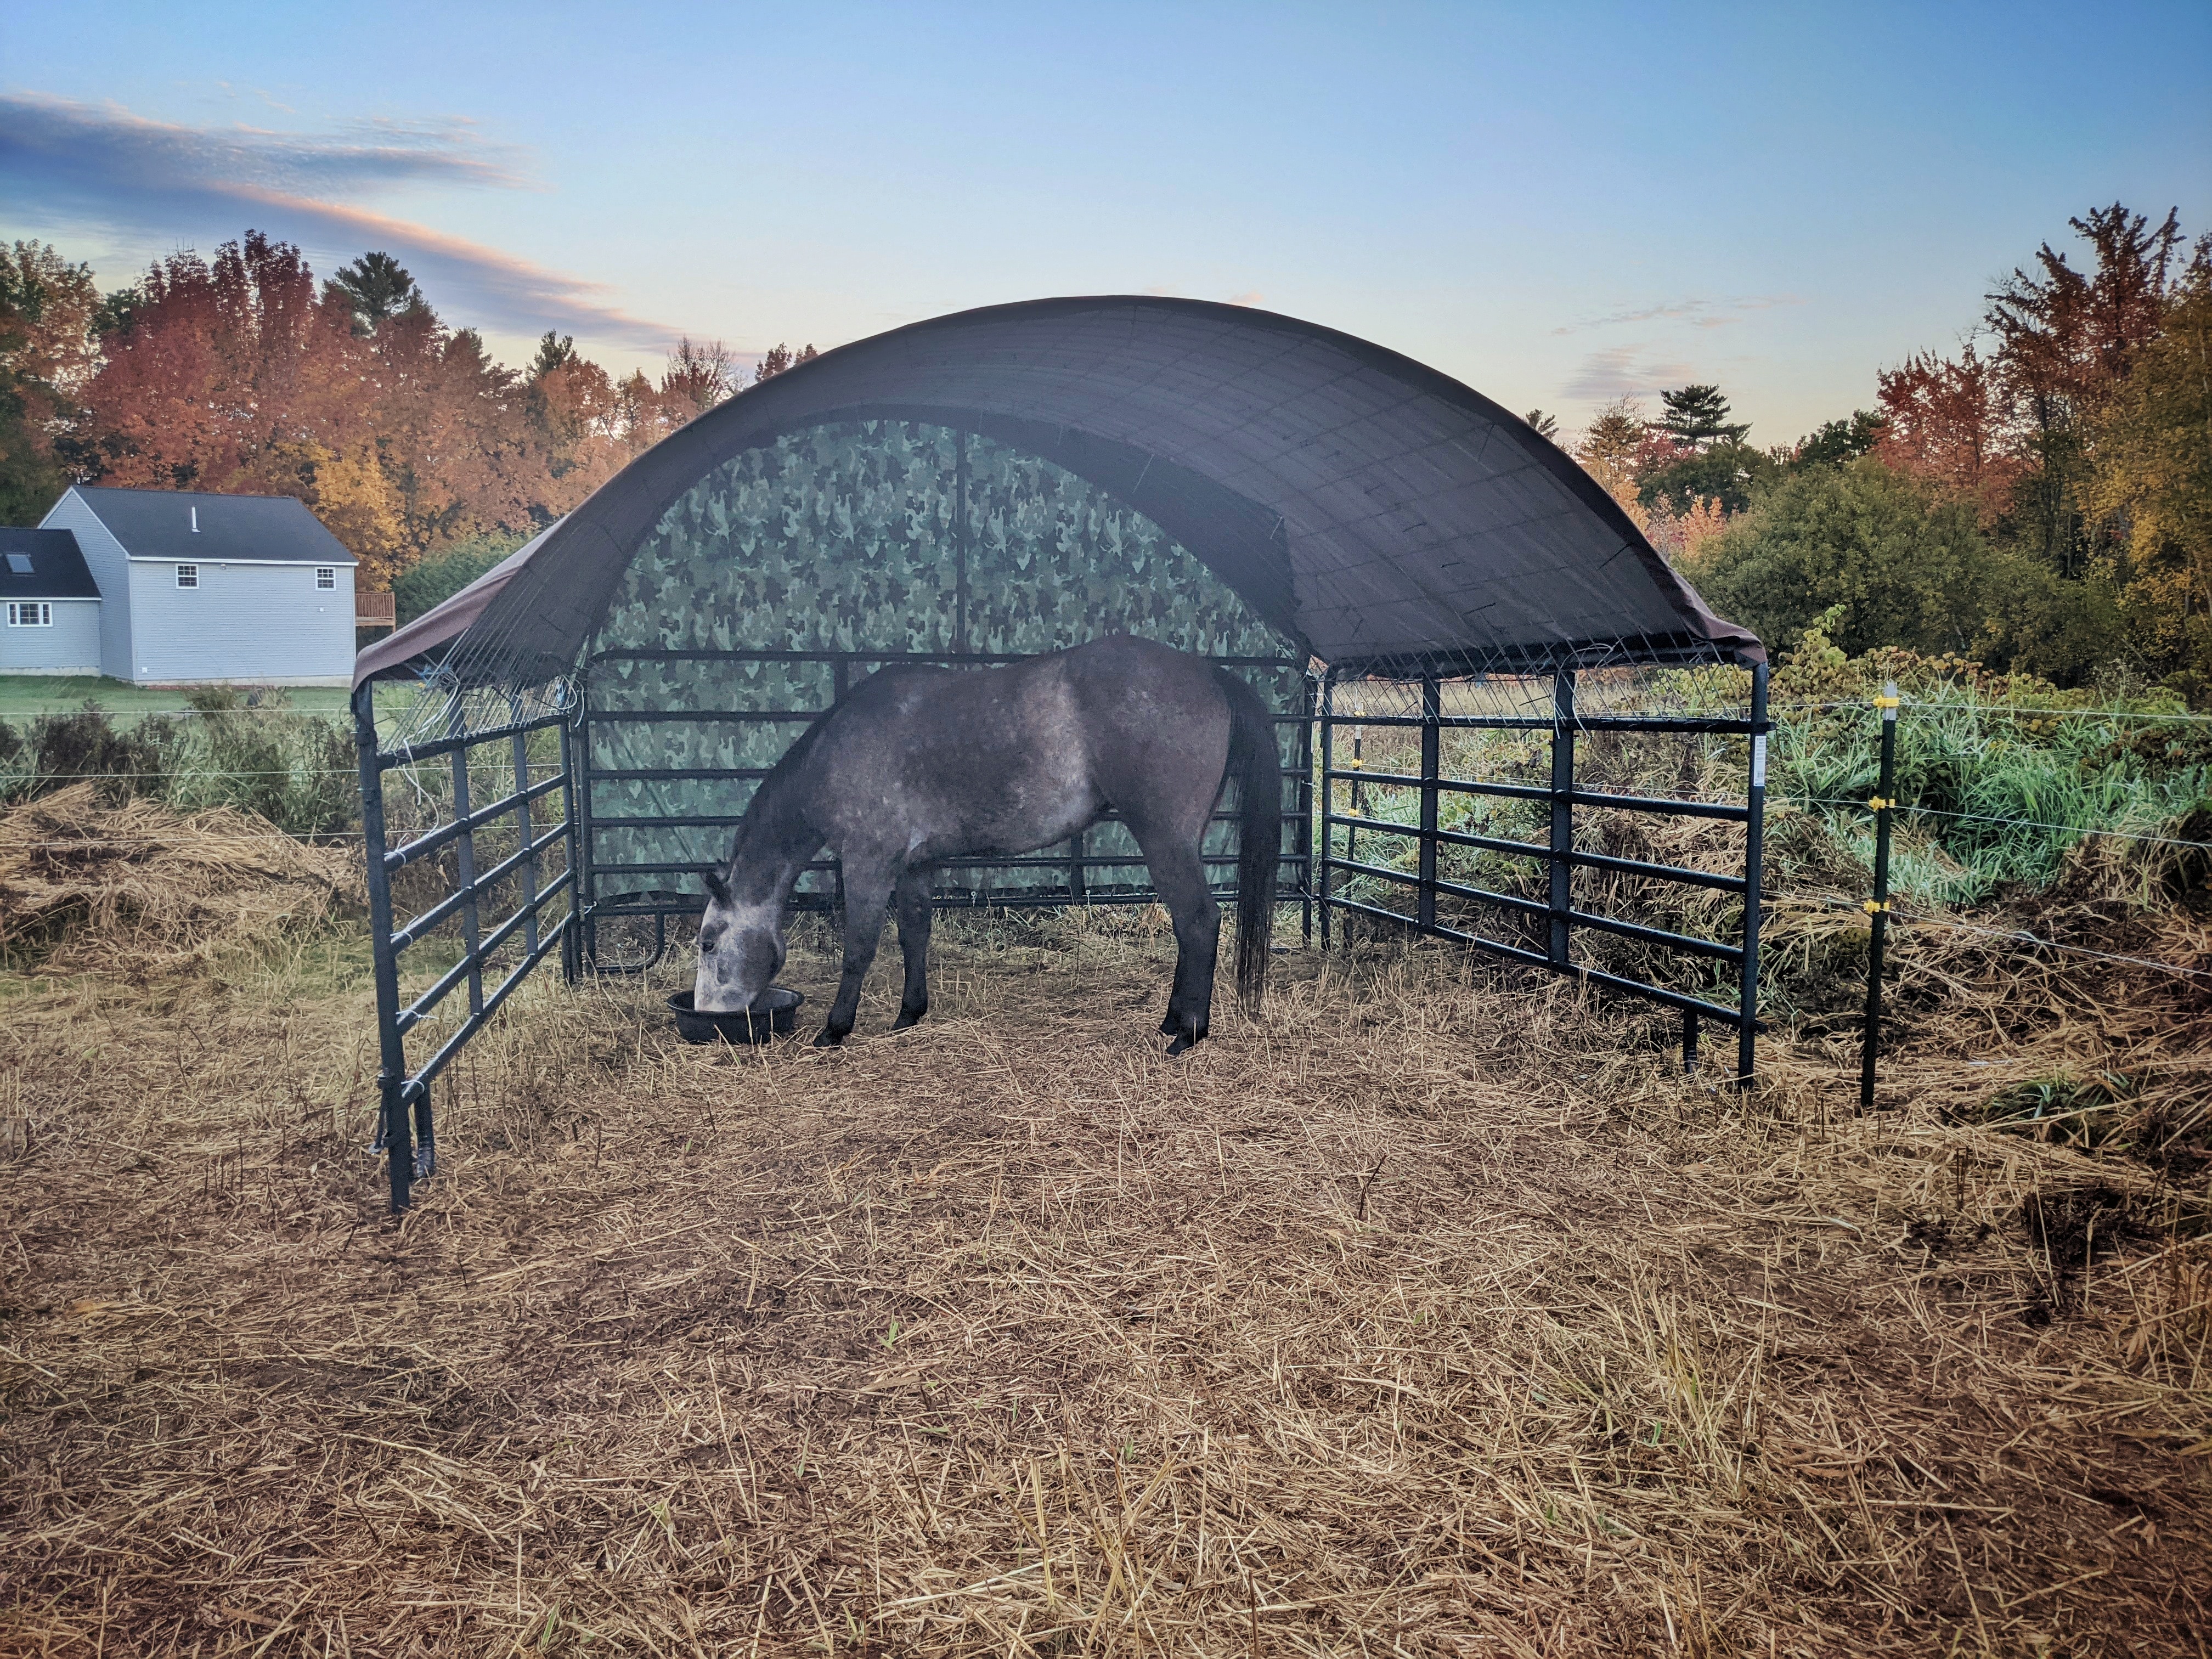
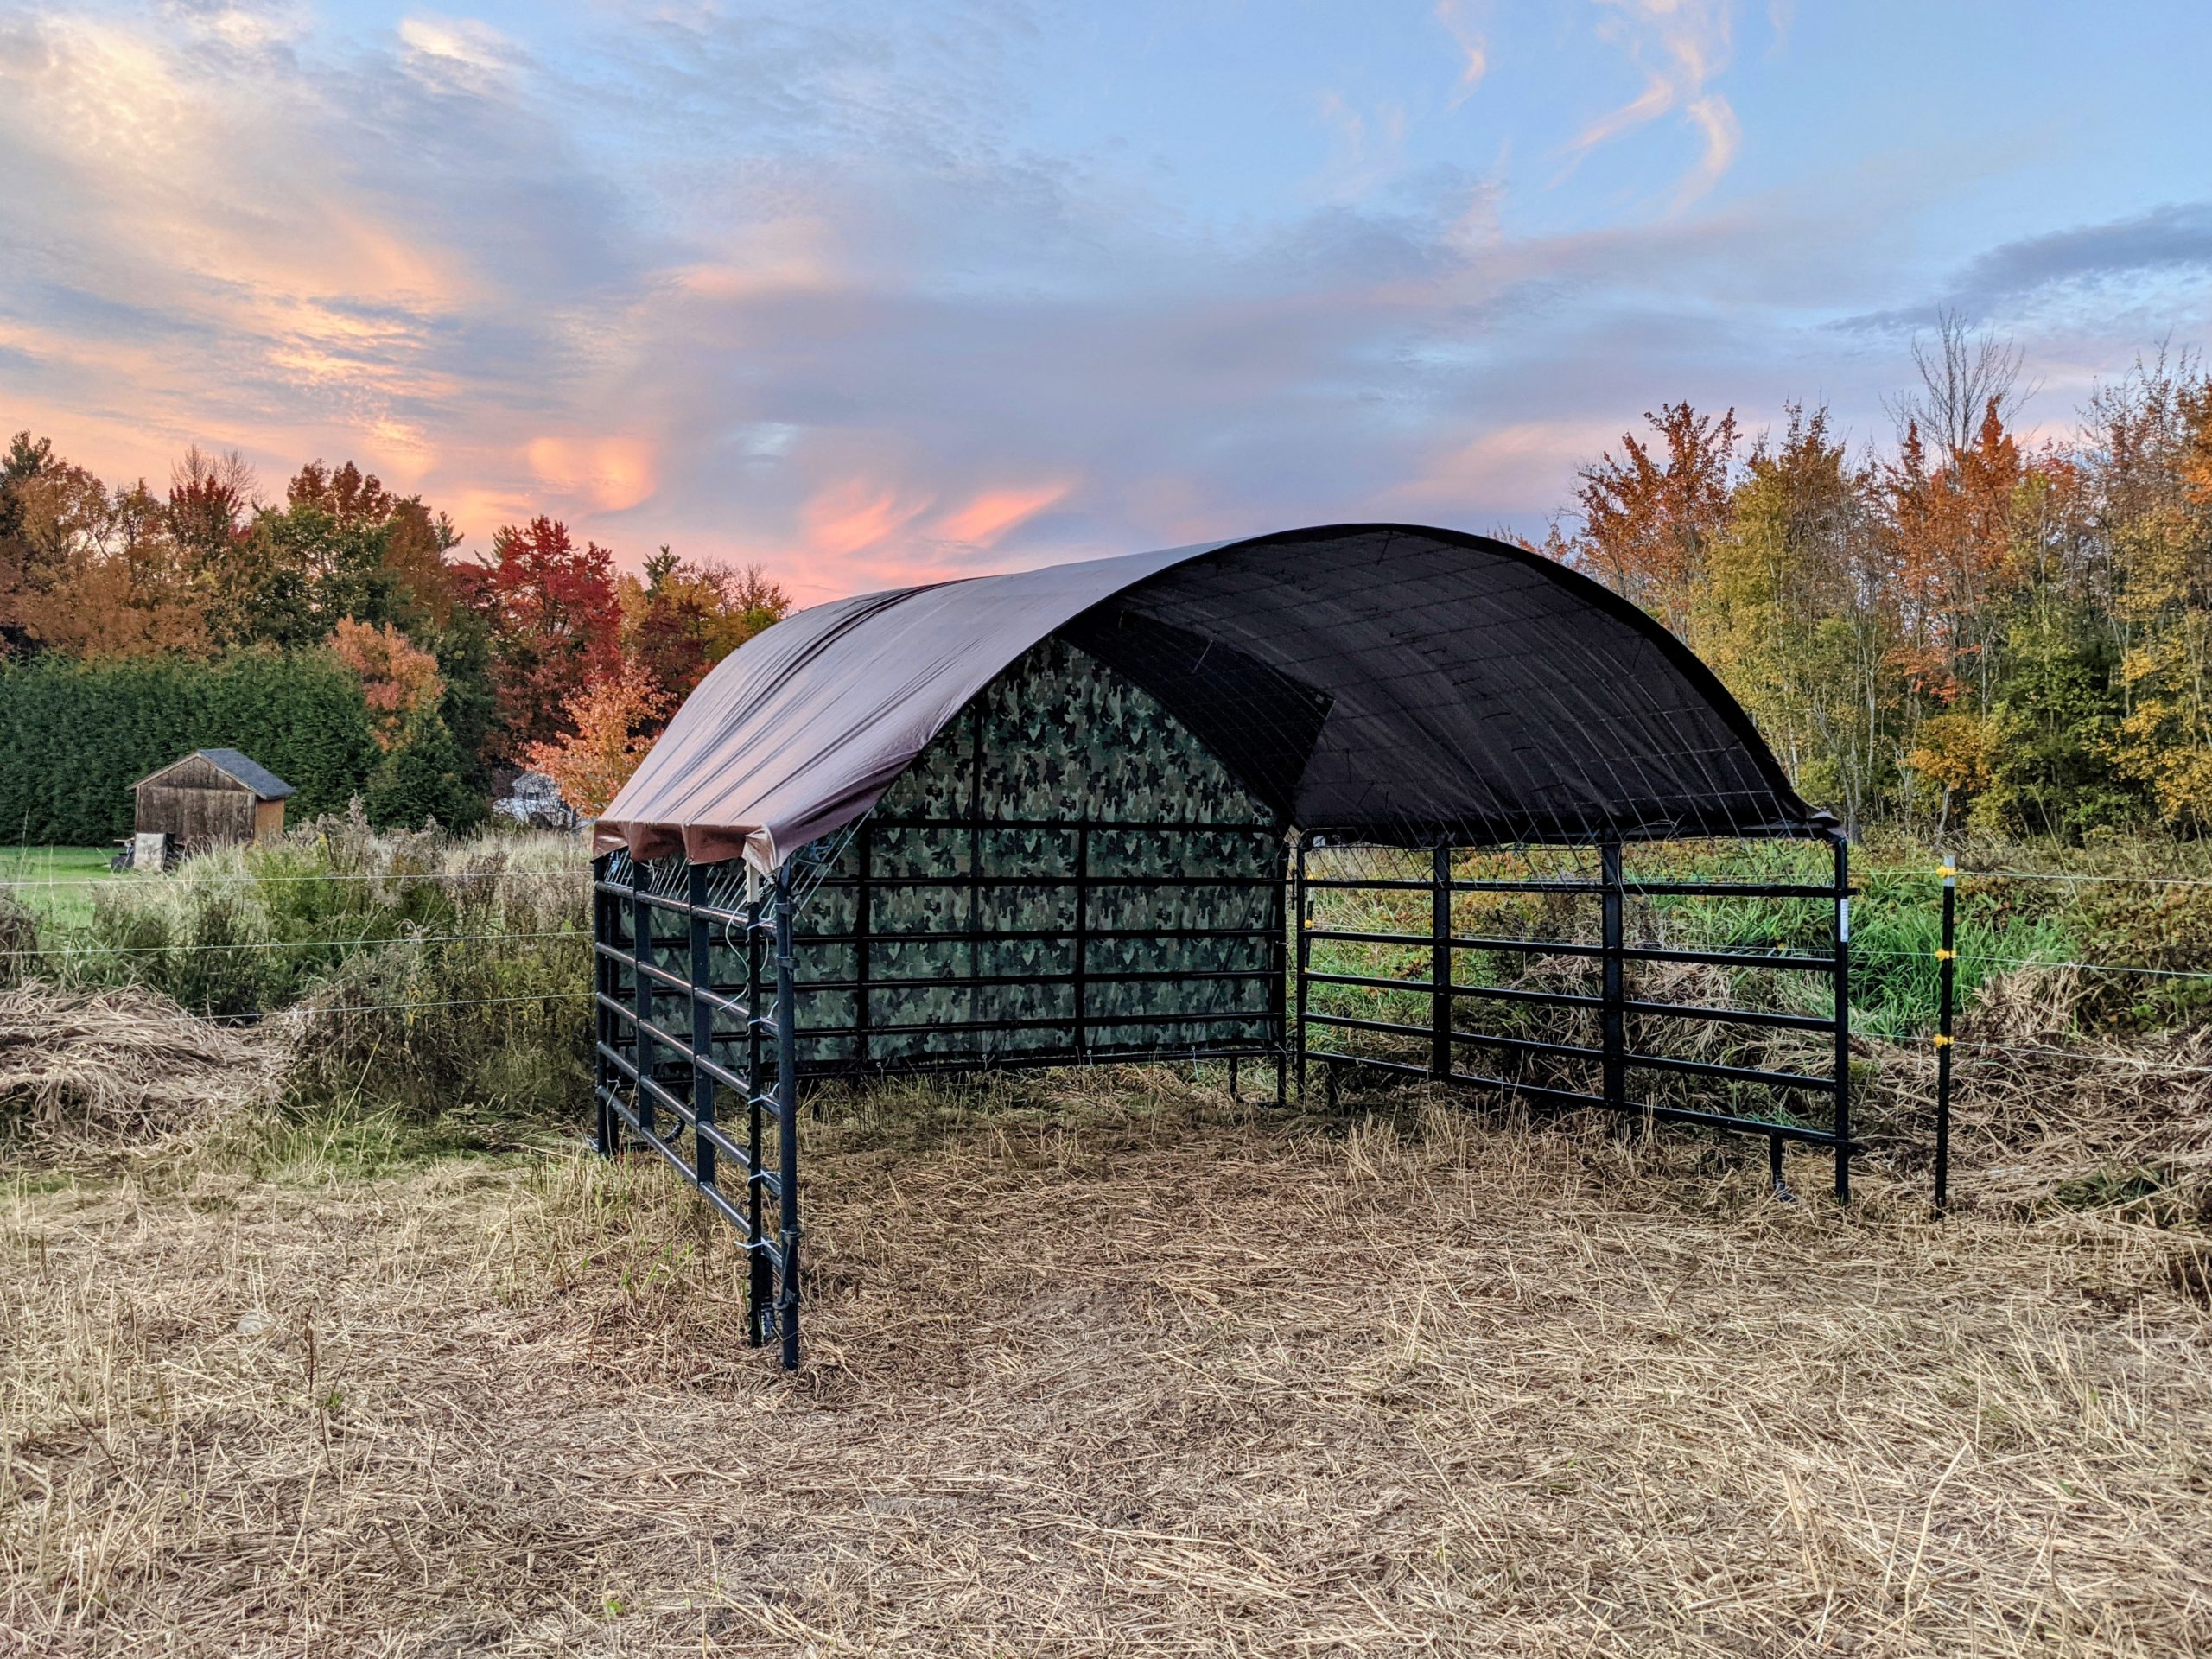
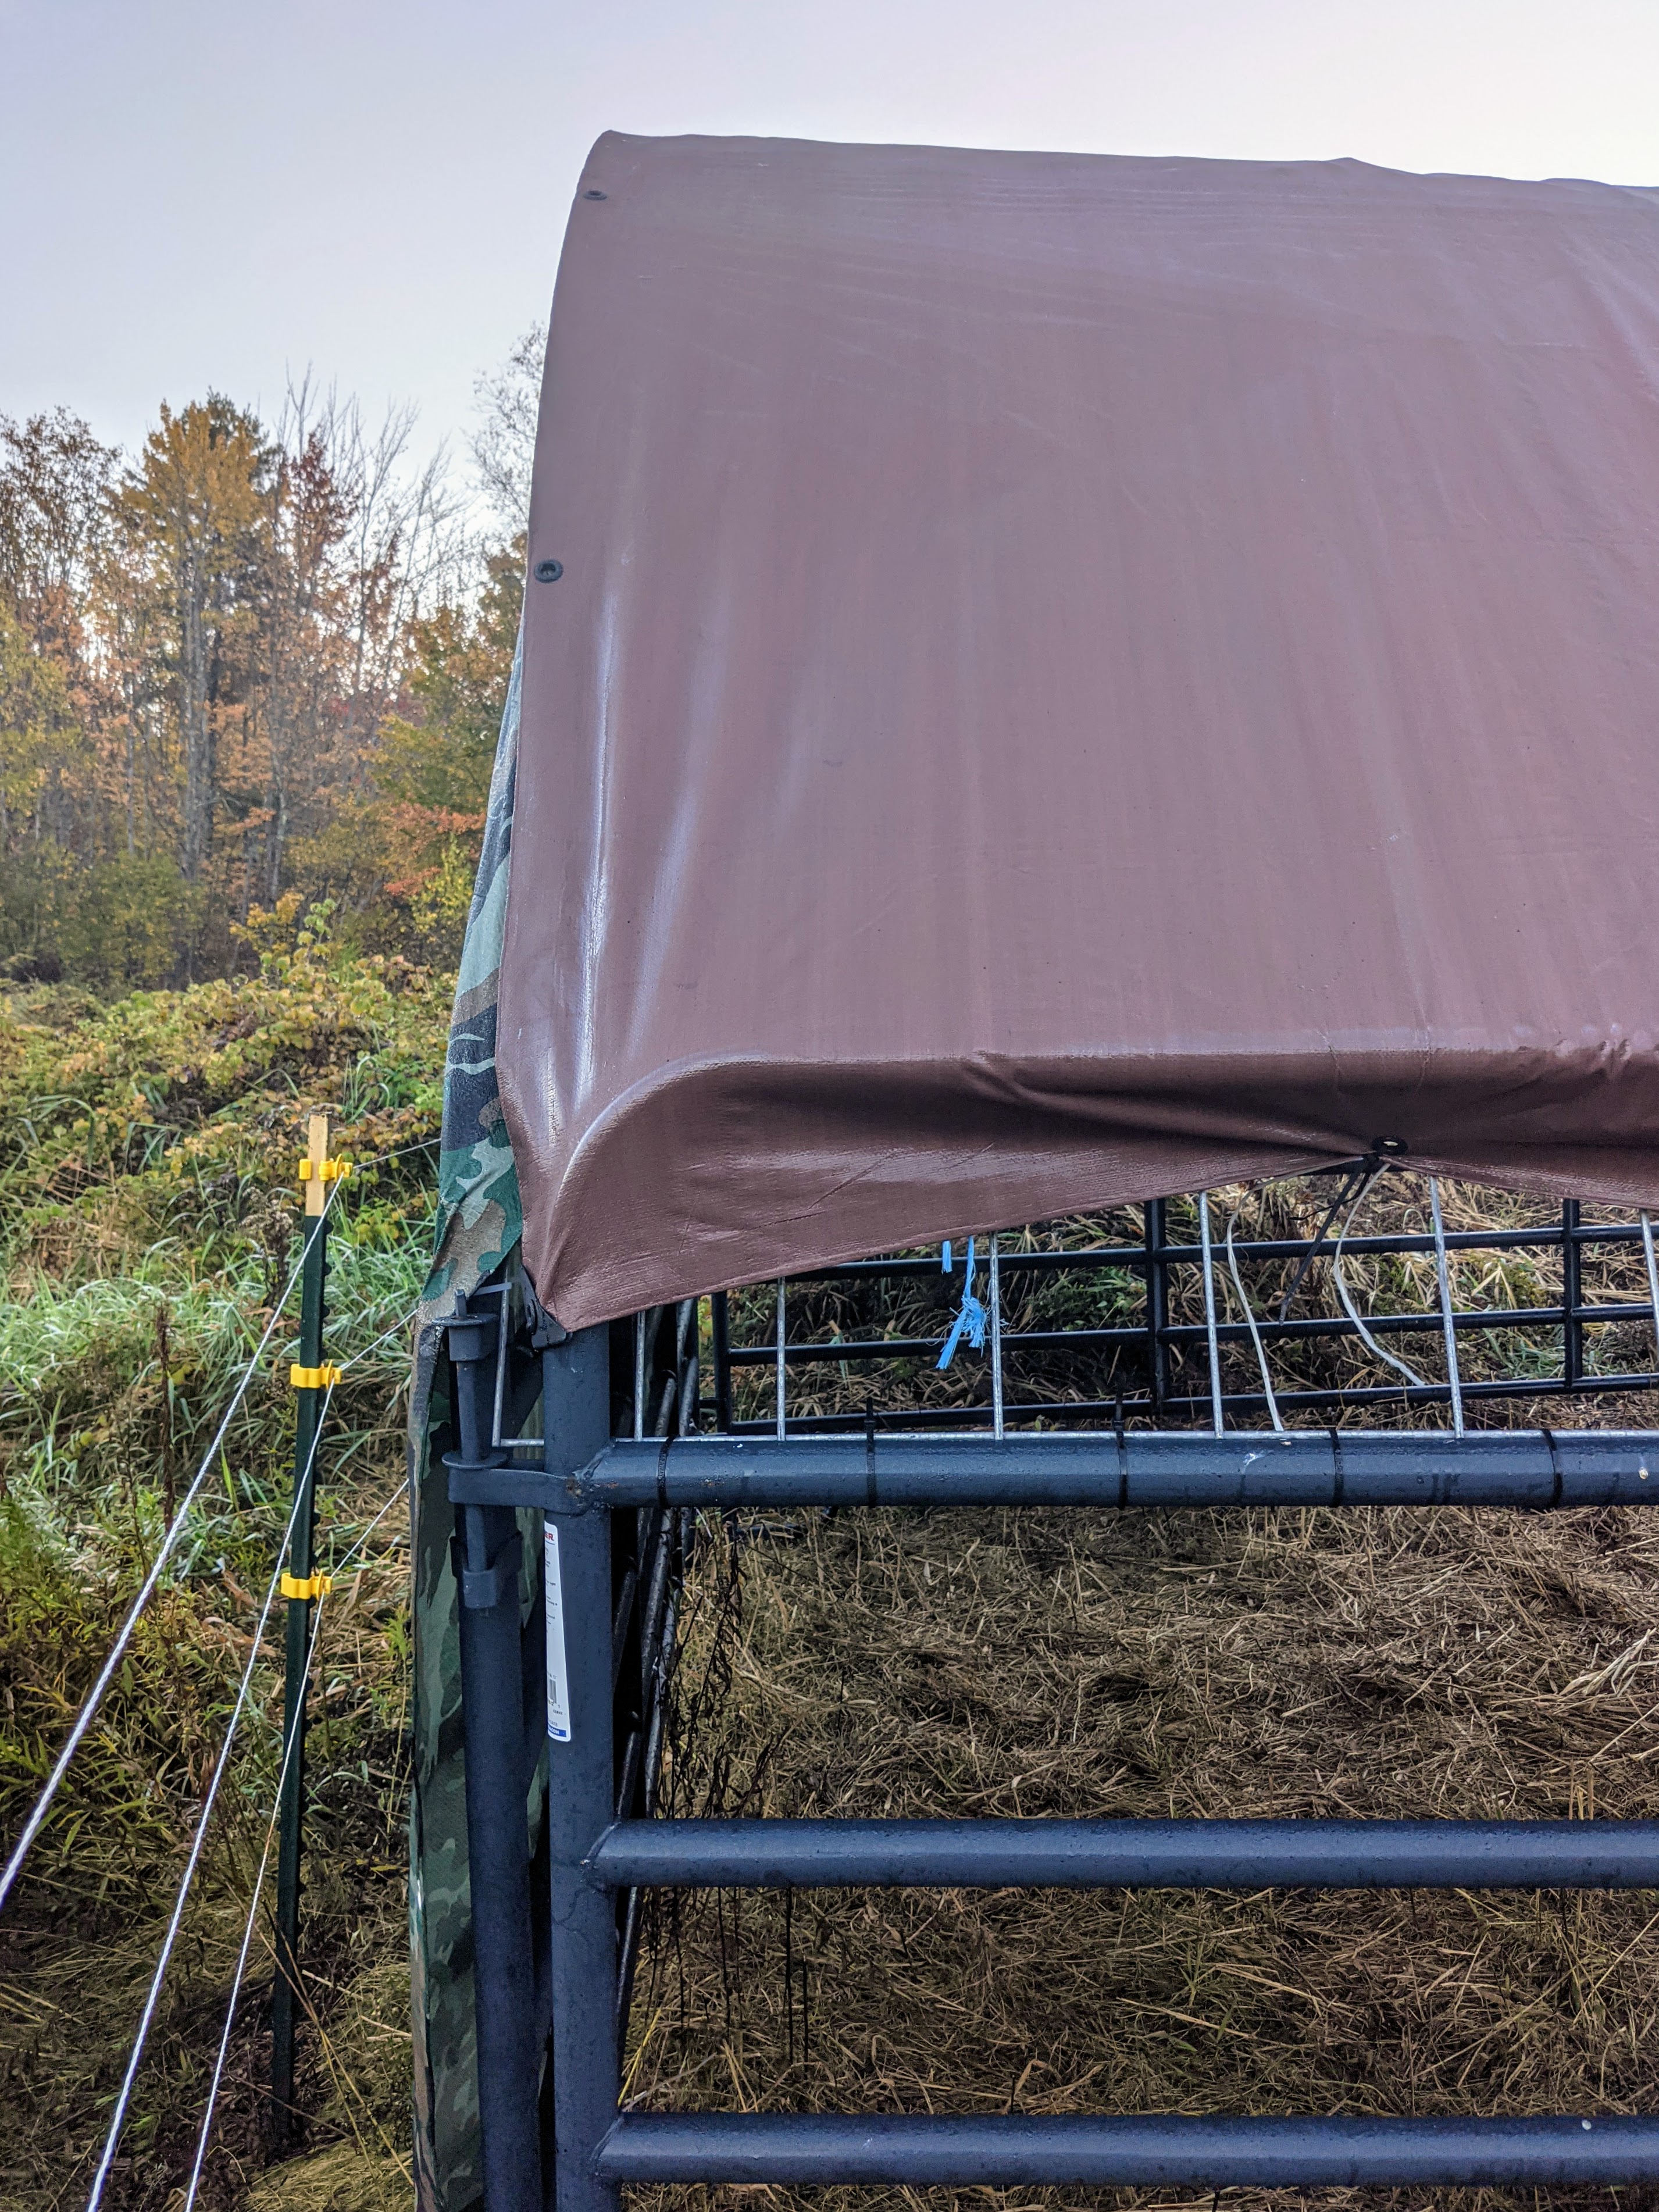
The finished horse shelter
It surprised me how incredibly sturdy this thing is! The tension from the roof panels and the tarp keep everything pretty immobile, even in high winds. And this free standing run-in is plenty big enough for two horses to shelter without being in each others’ way.

We get lots of compliments on it. From the road it doesn’t look like something we just cobbled together in a day. And it’s a great, secure space for my boy!
If you find you need added wind protection you can always add extra tarps to the sides. We plan to do that later when it gets cold. (You could probably also use plywood boards if you wanted). And if you ever decide to upgrade down the road everything used to build this shelter is still usable! (with the exception of the used zip ties, of course) I’m a sucker for multi-use and up-cyclable things.

Have you tried making a shelter like this? I’d love to read your comments and see your pictures!
Do you like DIY projects? Check out my DIY Projects section for more (coming soon!).